
Access
Connect cross-platform accounts & identity management
Get a 360 view on game health by combining crash reporting, performance analytics, build quality and binary distributtion into one toolbox
AccelByte Cloud’s Legal Agreements service has the power to manage legal documents, such as Terms of Service, Privacy Policy, End User License Agreement (EULA). It can even manage Marketing Preferences, such as whether a player would like to receive updates via email. You can create and manage documents with different versions and locales, then store them in the Admin Portal.
Legal Agreements can be uploaded to either a game namespace or to your publisher namespace. Any agreements uploaded to your publisher namespace will be applied to all of your games in Player Portal or Launcher, and players will only need to agree to them once, when creating their account for your platform.
Permissions are used to grant access to specific resources within our services. Make sure your account has the following permissions before you attempt to manage legal agreements in the Admin Portal. For a full list of permissions that impact legal agreement management, see the Legal tab of the permissions reference (opens new window).
| Usage | Permission Tag | Action |
|---|---|---|
| Create a Legal Document | ADMIN:NAMESPACE:*:LEGAL | Create |
| Update a Legal Document | ADMIN:NAMESPACE:*:LEGAL | Update |
| Create a Country-Specific Policy | ADMIN:NAMESPACE:*:LEGAL | Update |
| Create a New Version of a Document | ADMIN:NAMESPACE:*:LEGAL | Create |
| Edit Document Version Details | ADMIN:NAMESPACE:*:LEGAL | Update |
| Publish a Document Version | ADMIN:NAMESPACE:*:LEGAL | Update |
| Retrieving Policies by Country | ADMIN:NAMESPACE:*:LEGAL | Read |
| Retrieving a Document Content | ADMIN:NAMESPACE:*:LEGAL | Read |
Permissions work slightly differently depending on whether they are assigned to IAM Clients or Roles assigned to users. For more information, read the Authentication and Authorization documentation.
To use the AccelByte Cloud's Legal Agreements service, first you must create a legal document in the Admin Portal. This document acts as a container that you can upload the actual contents of the document into. To create this document, follow the steps below:
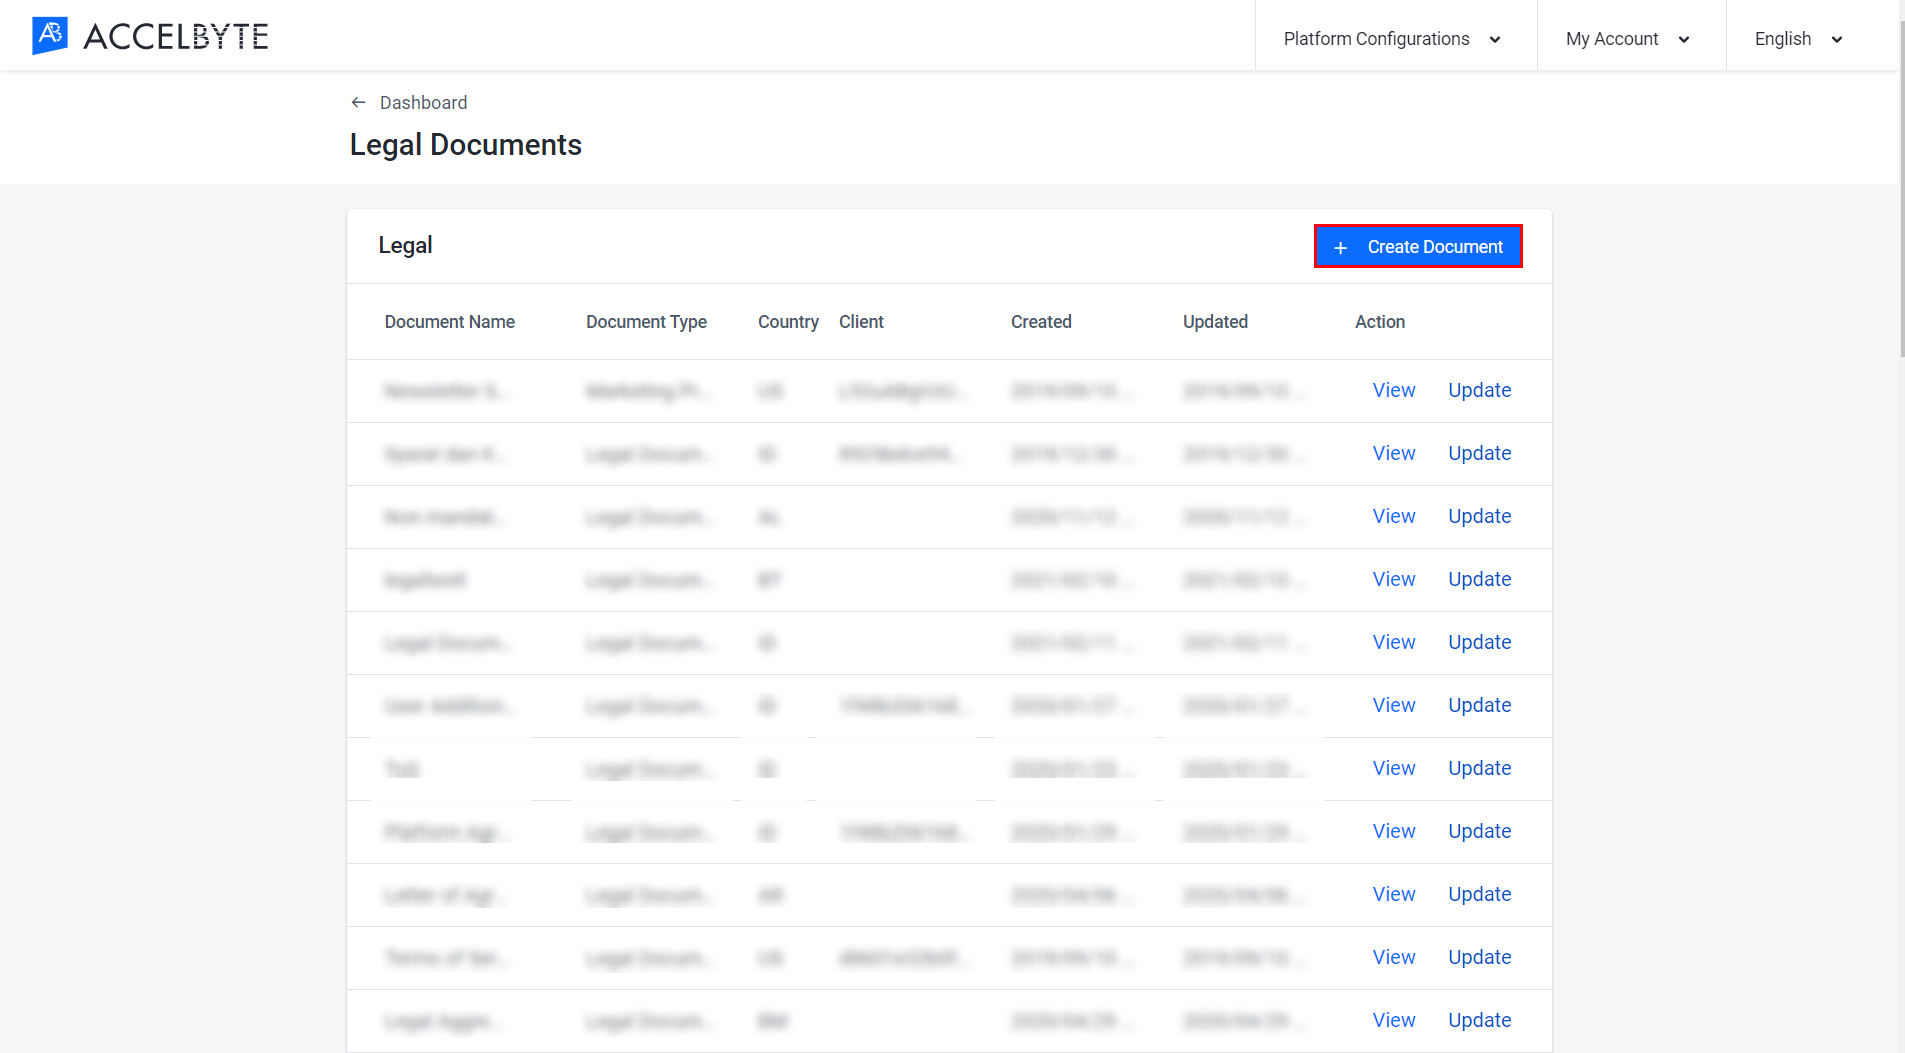
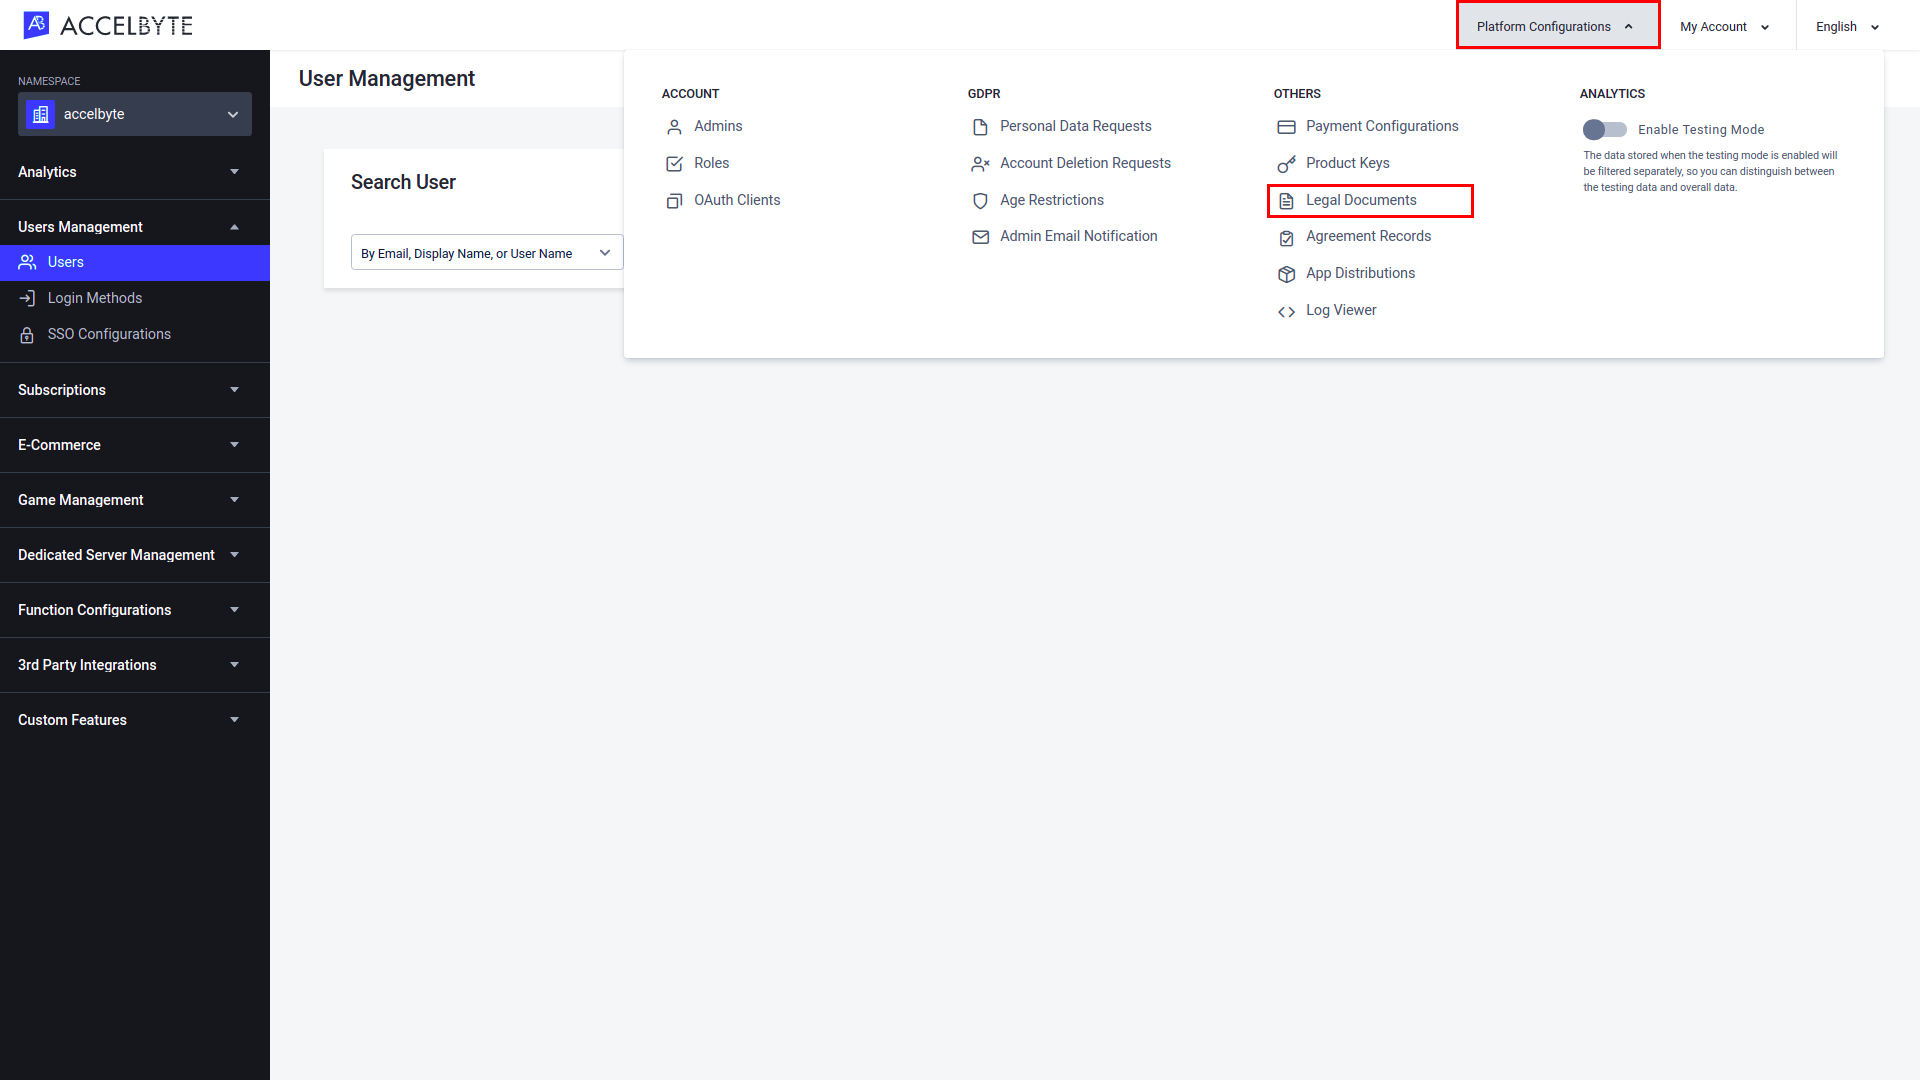
In the Admin Portal, go to Platform Configurations and click Legal Documents.

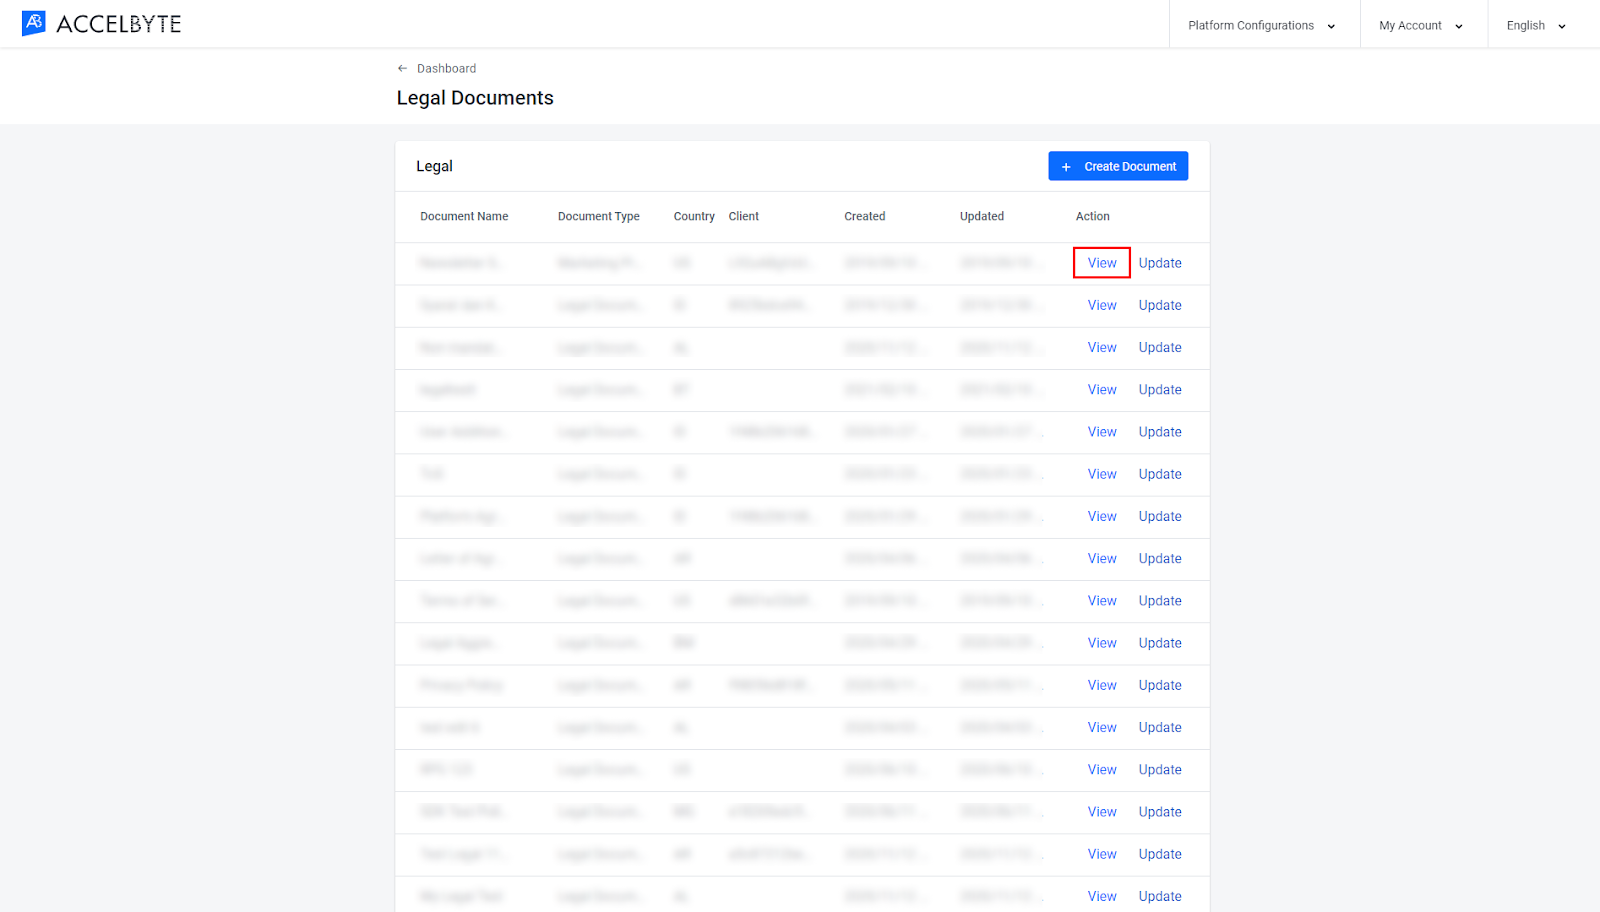
On the Legal Documents page you can see a list of all existing Legal Documents.
To create a new document, click Create Document.
The Create Document form appears. Fill in the required fields:
Input a name for the legal document in the Document Name field. Only letters and spaces are allowed.
Choose the type of document you’re creating from the Document Type dropdown menu. Choose Legal Document for legal documents such as Privacy Policies or Terms and Conditions. Choose Marketing Preference for marketing preferences such as the option for players to sign up for a newsletter.
Select the namespace where the document will be created from the Namespace dropdown menu. To apply the document to a single game select that game’s namespace, or to apply a document to all of your games select the publisher namespace.
Use the Country dropdown menu to select the countries to create country-specific policies for. The first country that you input will be the default country, and the documents uploaded later for this country will also apply to all countries that do not have their own country-specific policies.
IMPORTANT
You won’t be able to delete countries later, so make sure your selections are correct before submitting this form.
Input a tag for the document in the Tag field. This field is optional. Tags can be used to further classify documents.
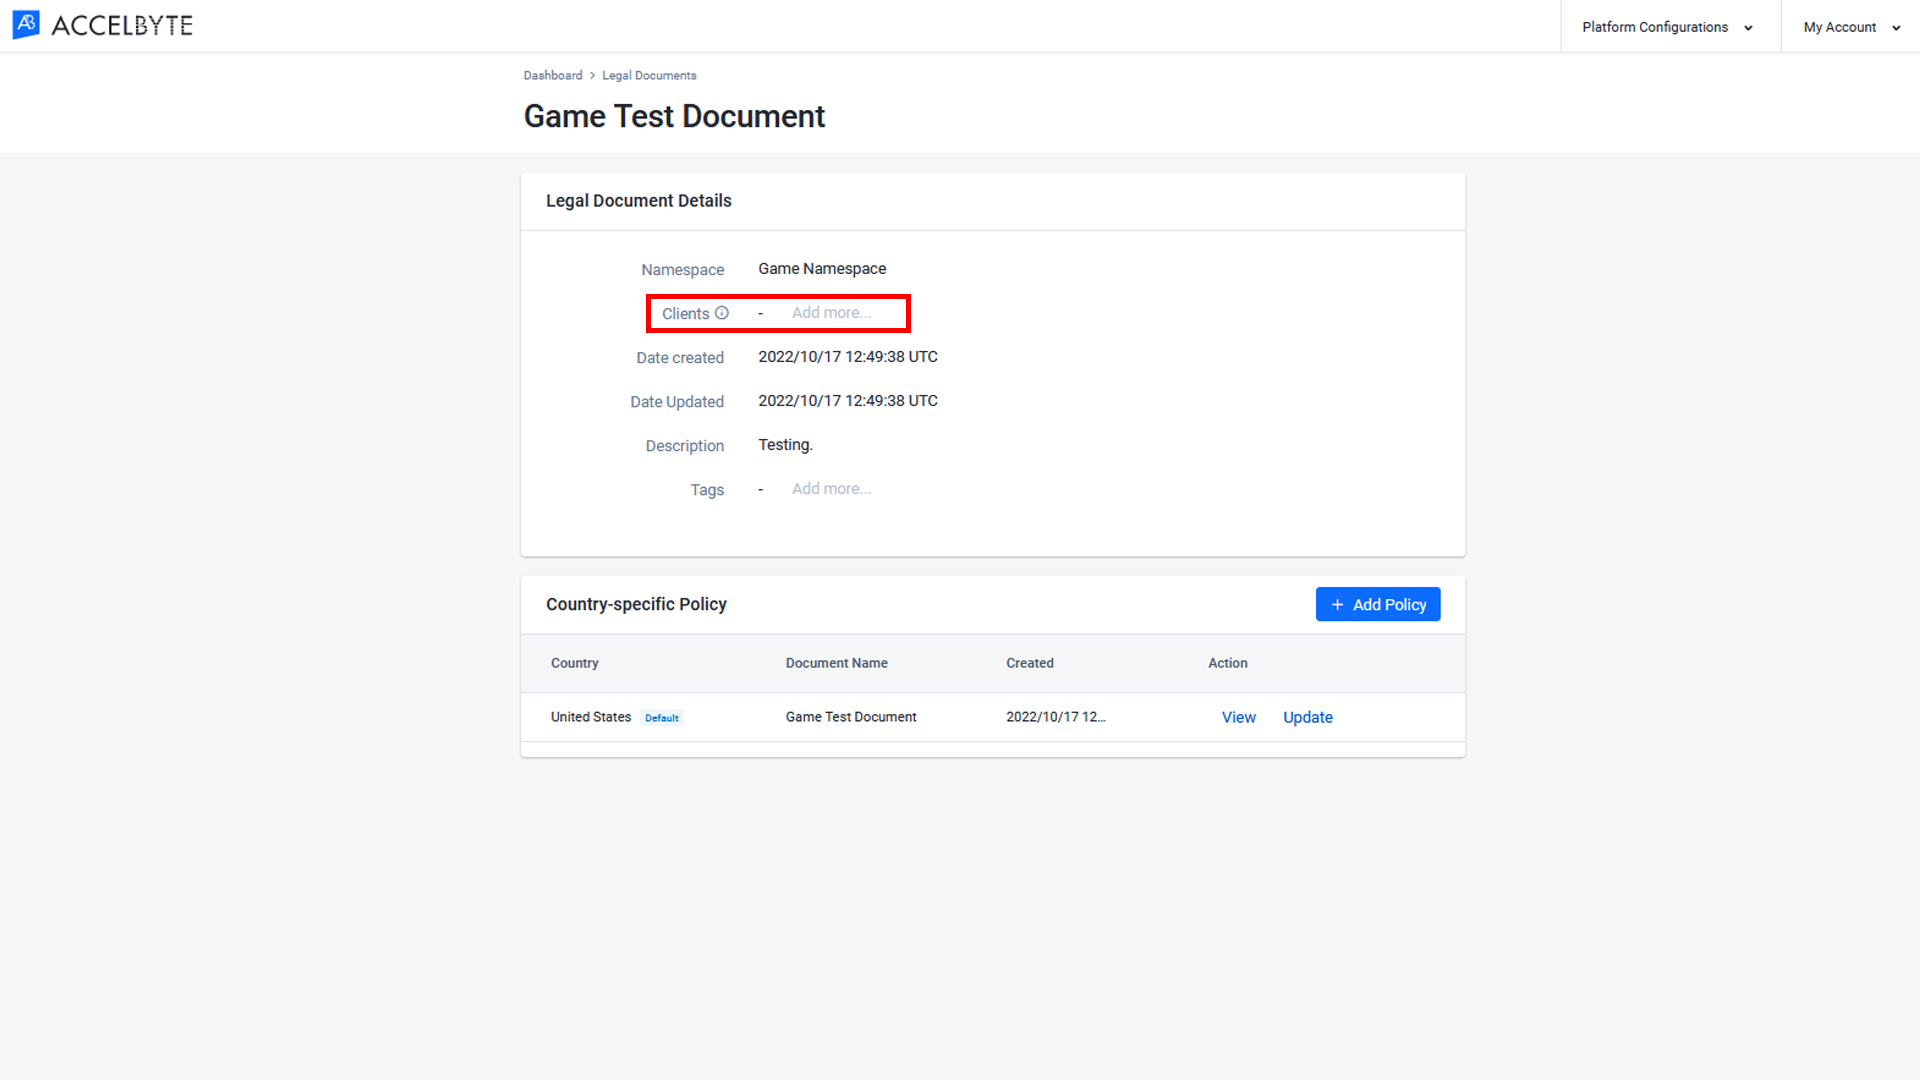
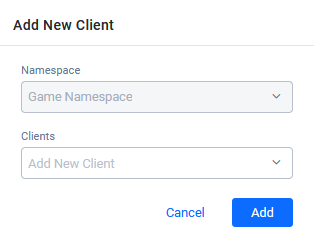
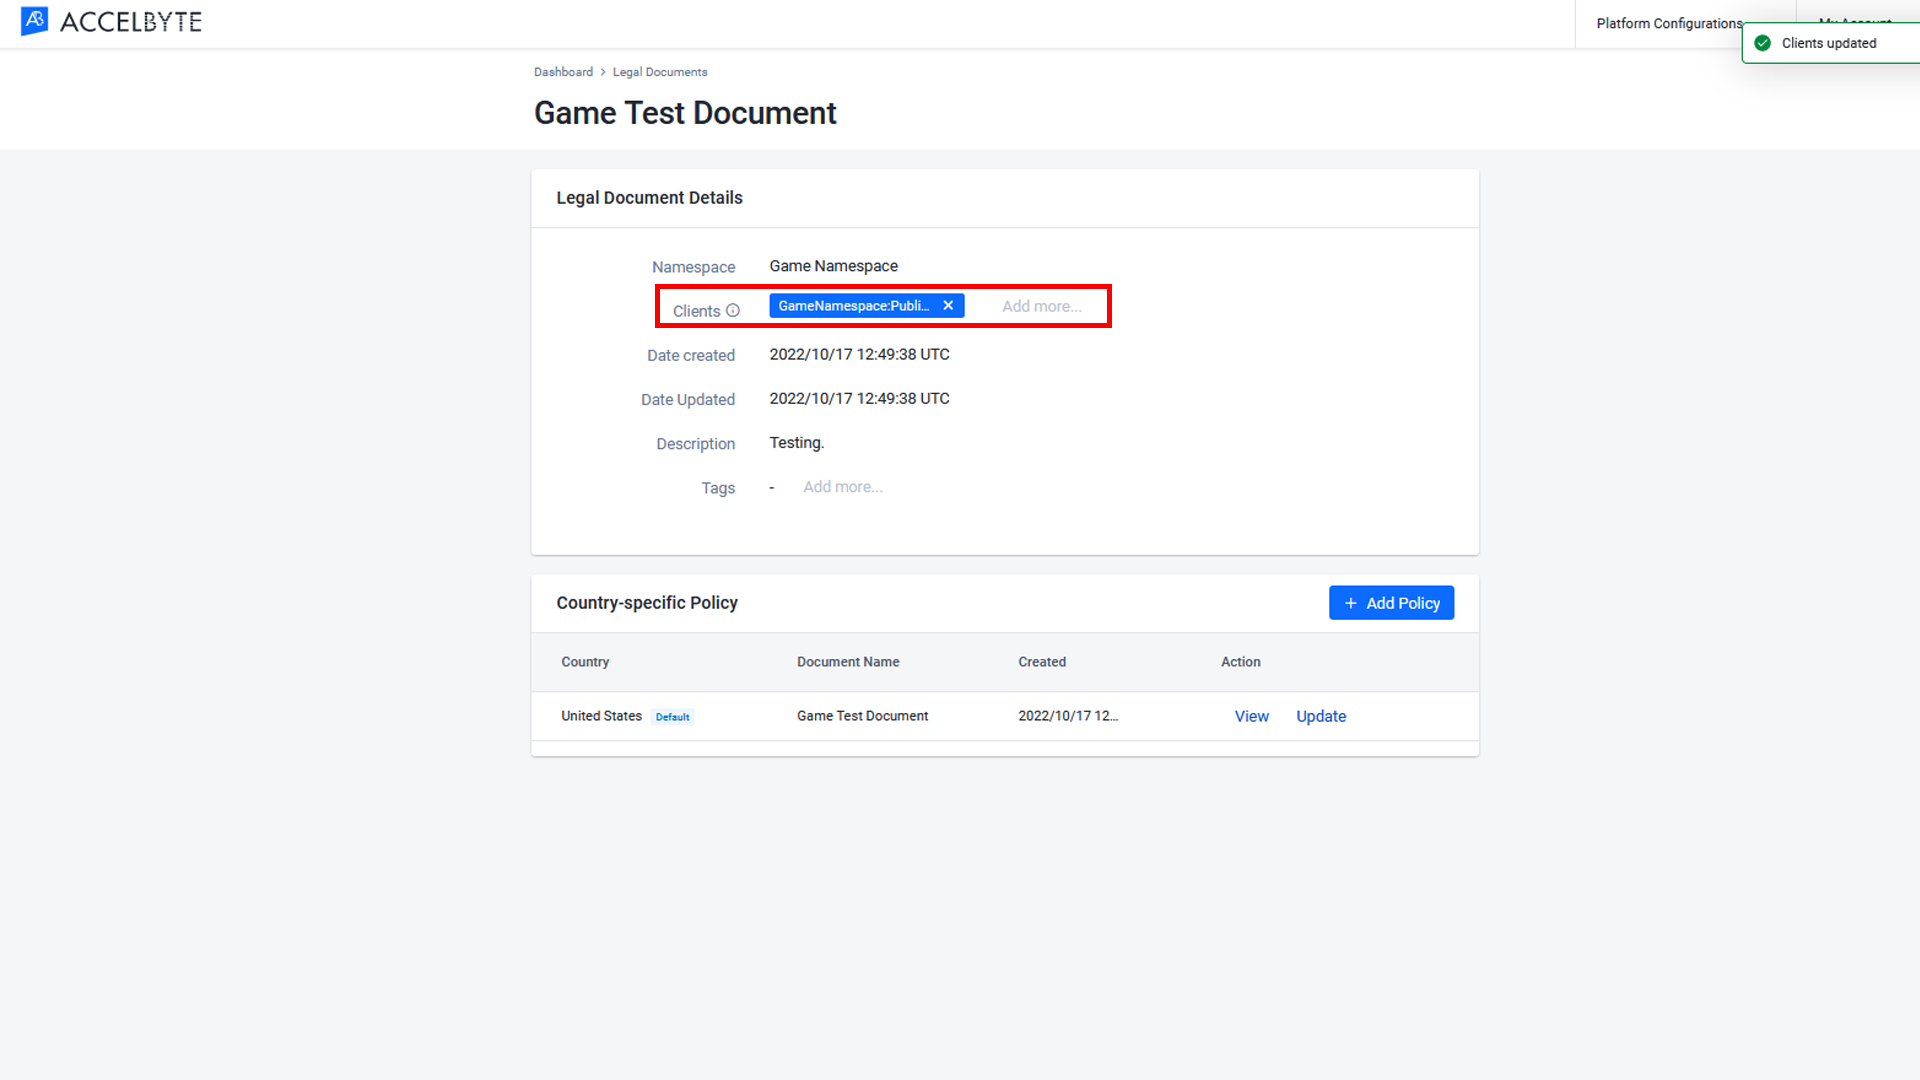
To assign this legal document to a specific IAM client, select the client from the Client dropdown menu. In the publisher namespace, this could be Player Portal or Launcher, whereas in the game namespace this could be game client. If left blank, the legal document will not appear on any client. You can select multiple clients.
Note
If the legal document is created on a publisher namespace, there is no rule which game client can be affected.
If the legal document is created for a game namespace, you can only add game clients in the respective game namespace.
Input a description of the document in the Description field.
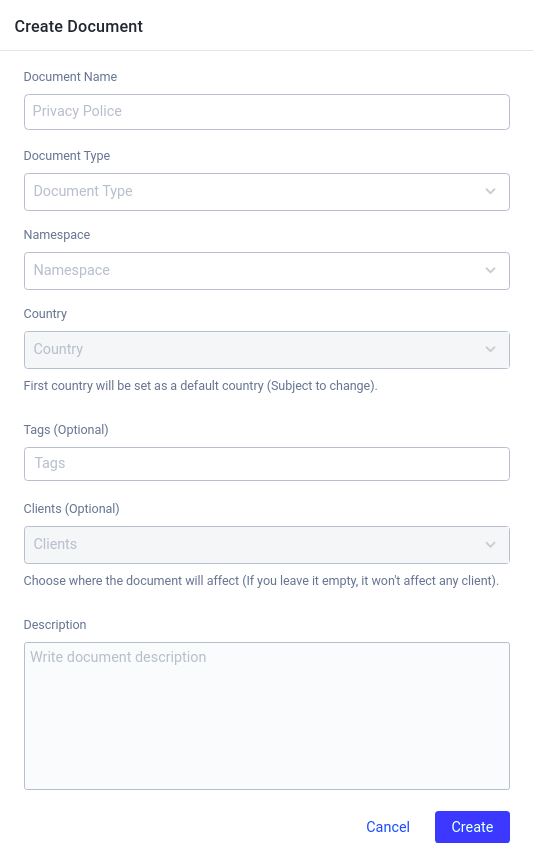
When you’re finished, click the Create button. The new document is added to the list.
After creating a legal document, you can create a country-specific policy to hold versions of that document that are for a specific country. The countries that were entered when a legal document was created or edited will be listed as countries that require a specific version of that document. To add a new country-specific policy to that list, follow the steps below:
In the Admin Portal, go to Platform Configurations and click Legal Documents.

On the Legal Documents page you can see a list of all existing Legal Documents.
Choose the document to which you want to add a new country-specific policy and click View next to that document.

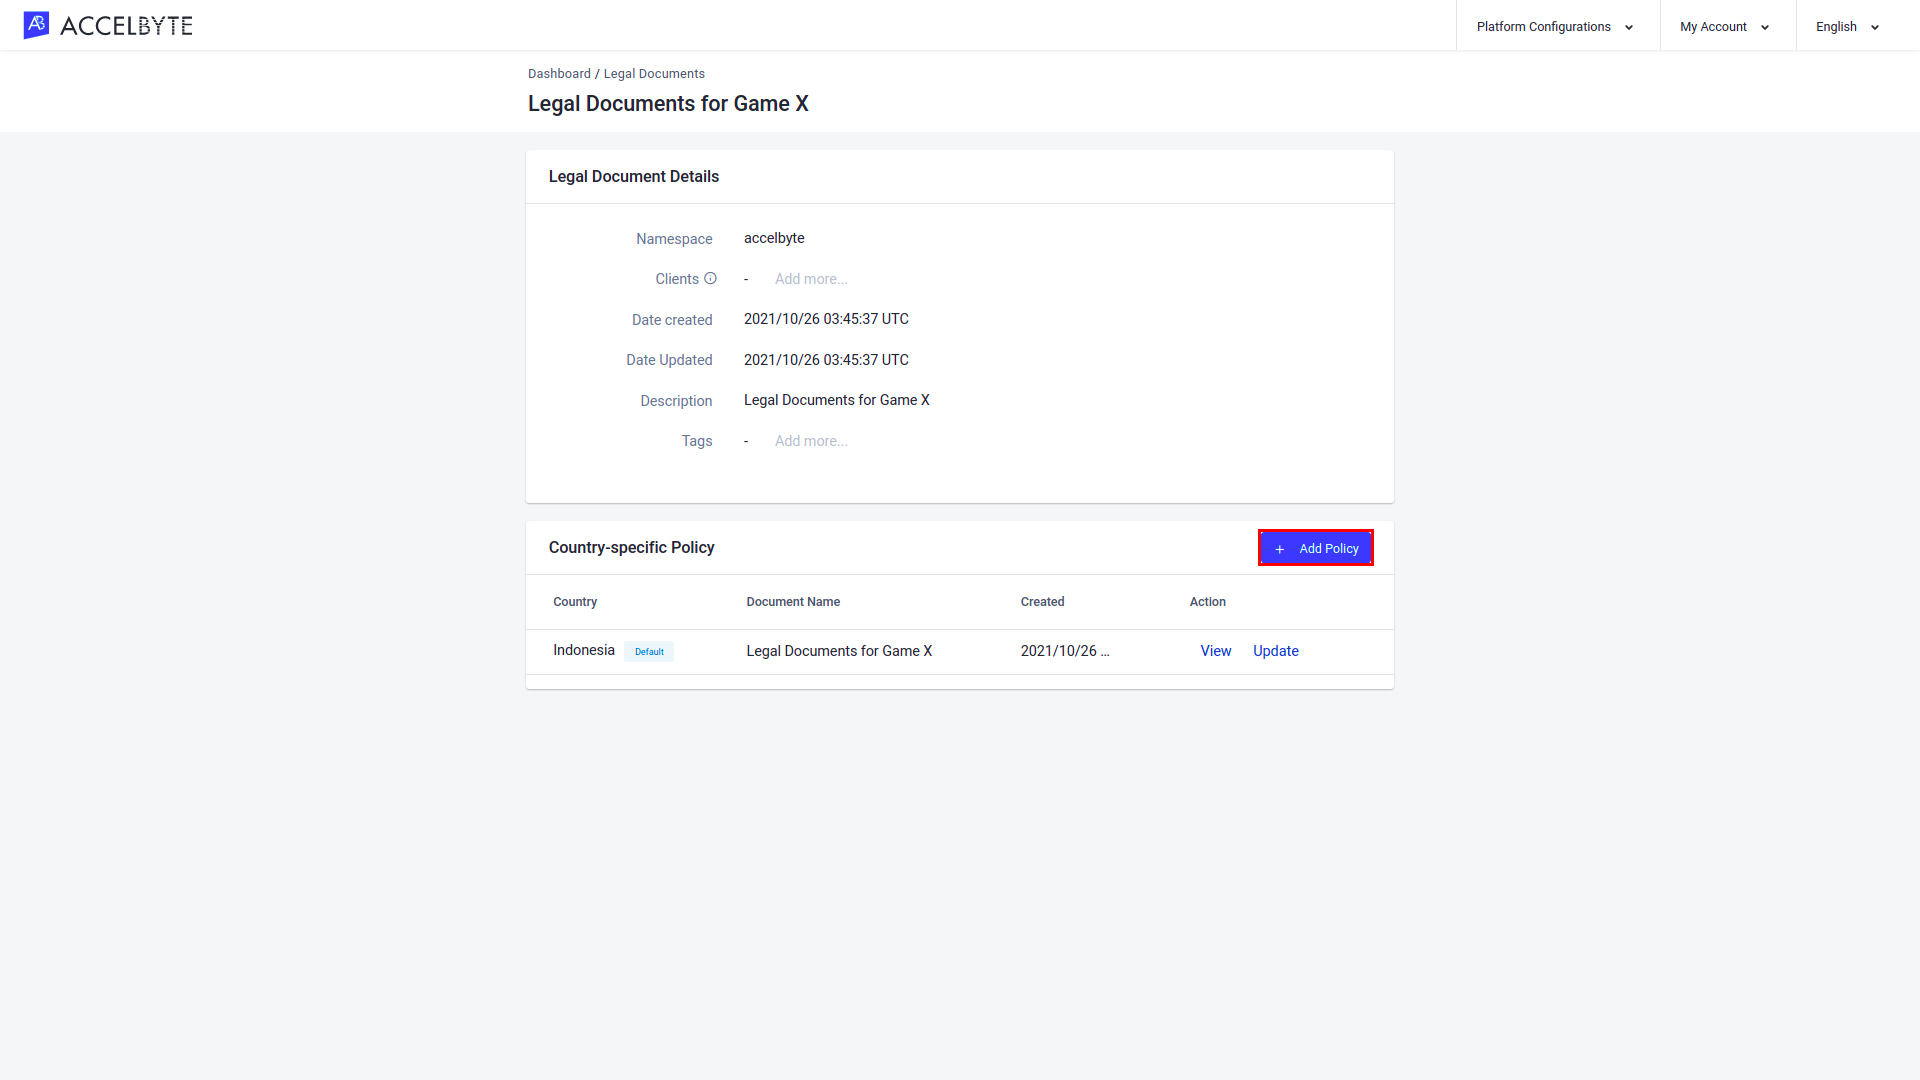
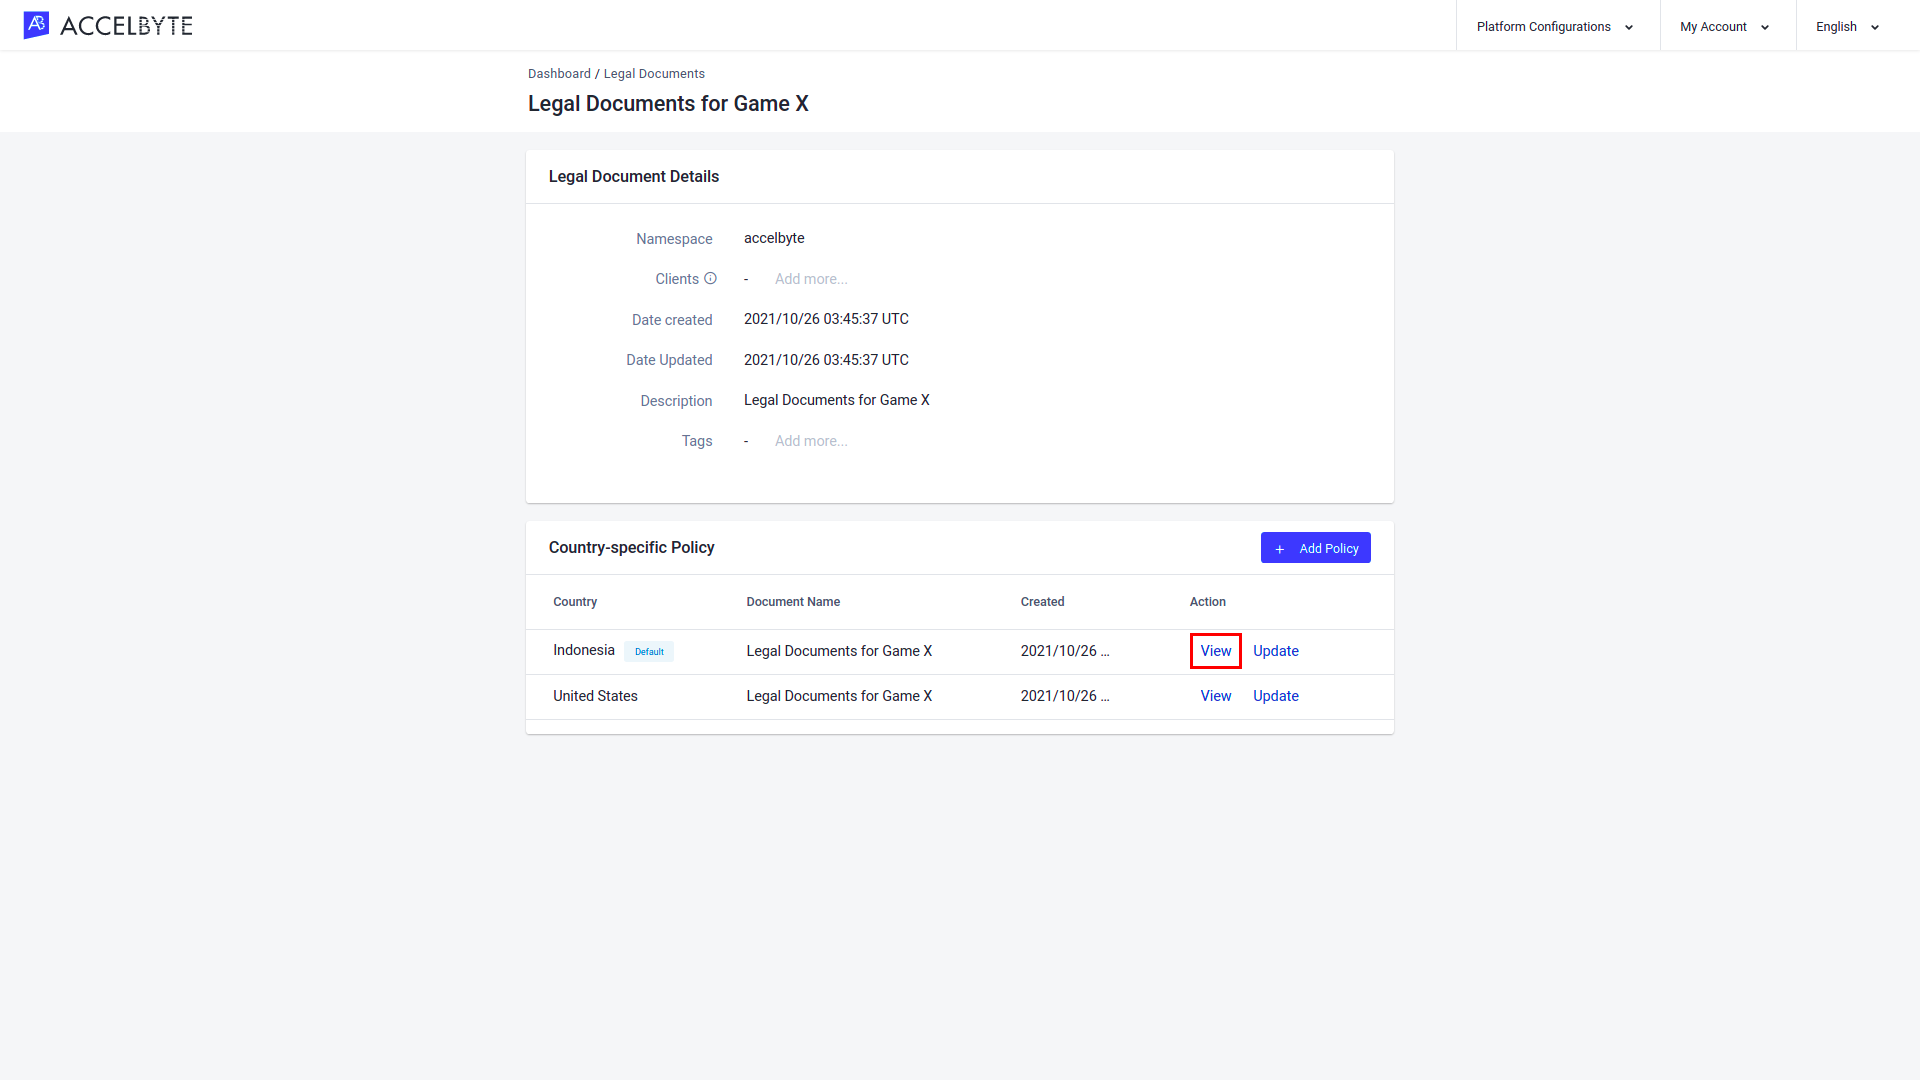
On the Legal Document Details page, you can see the details of the selected Legal Document and the list of country-specific versions of that document.
To create a new country-specific policy, click Add Policy.
The Add Policy form will appear. Choose a country from the dropdown menu and click Create to confirm.
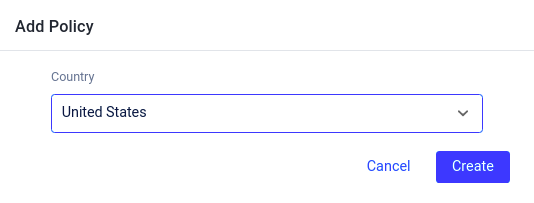
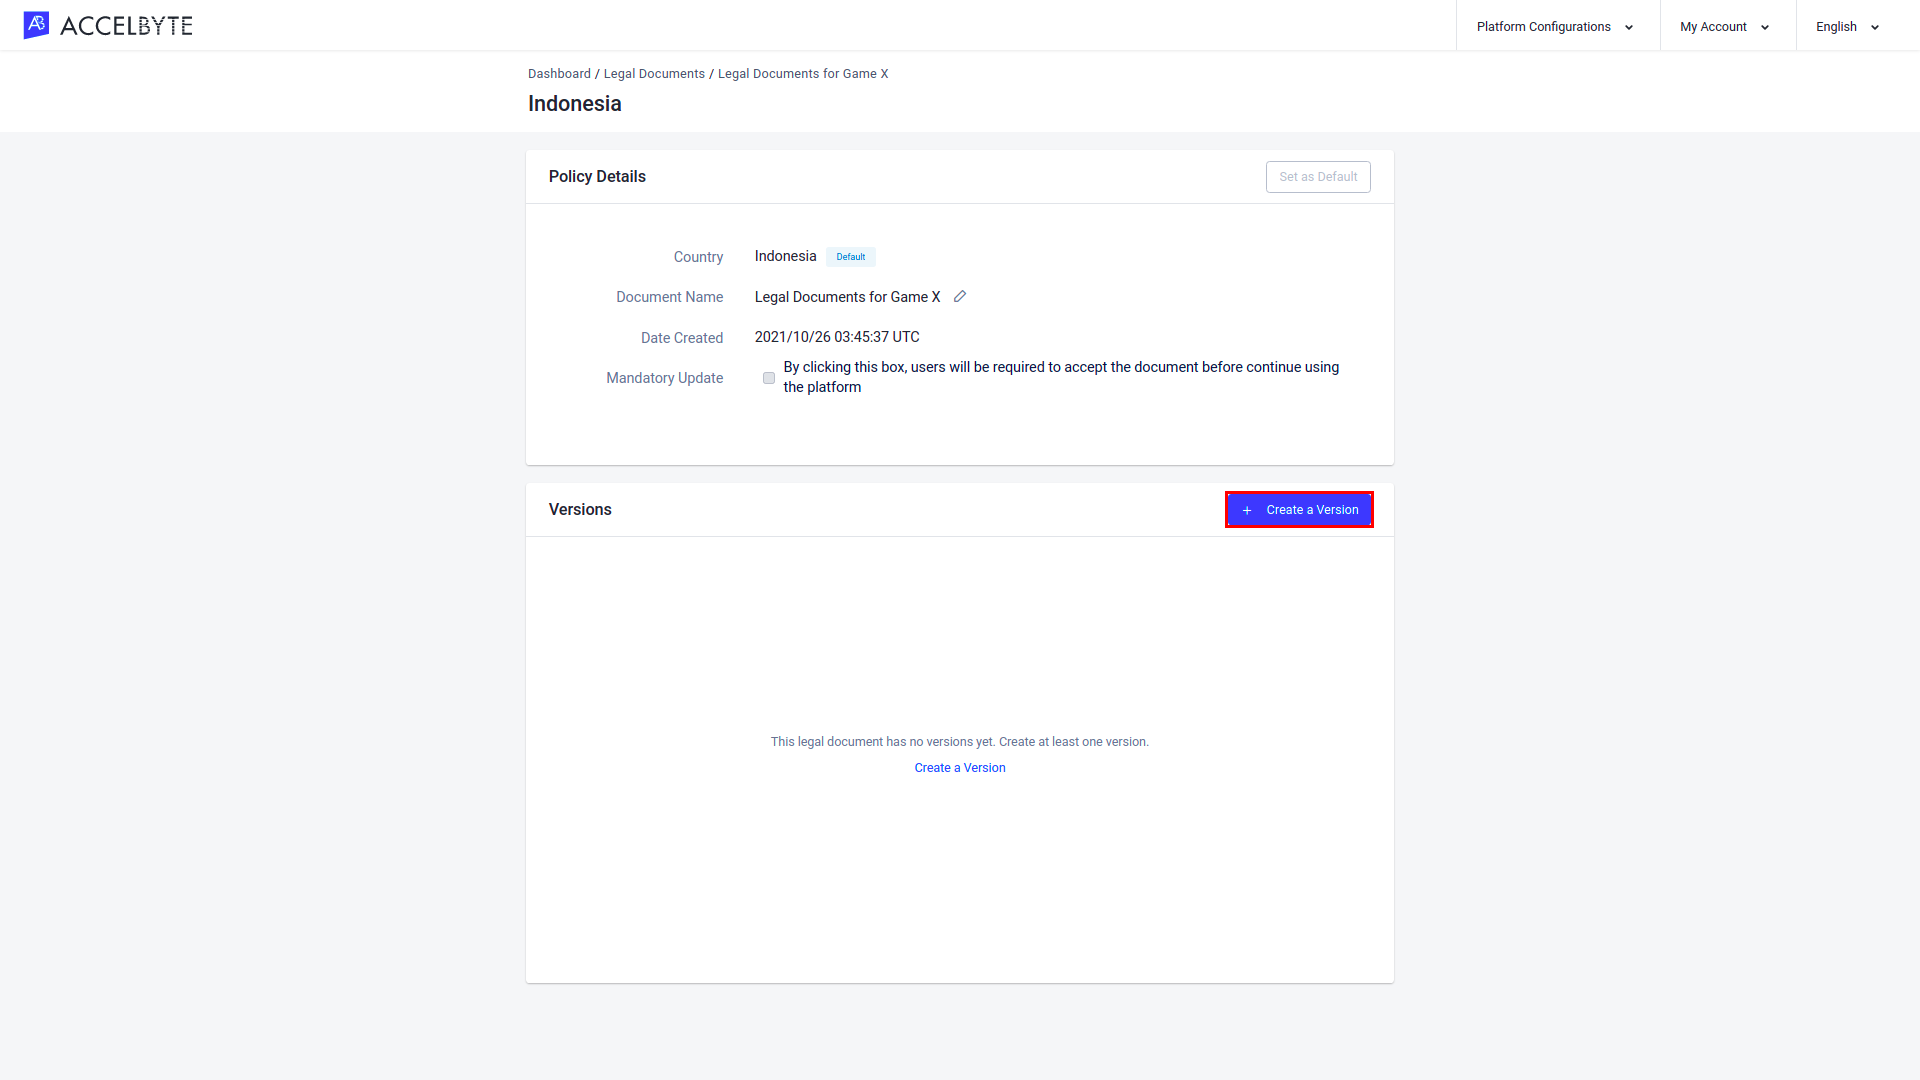
The country-specific policy will be added to the list and you’ll be redirected to the country-specific policy page that you just created.
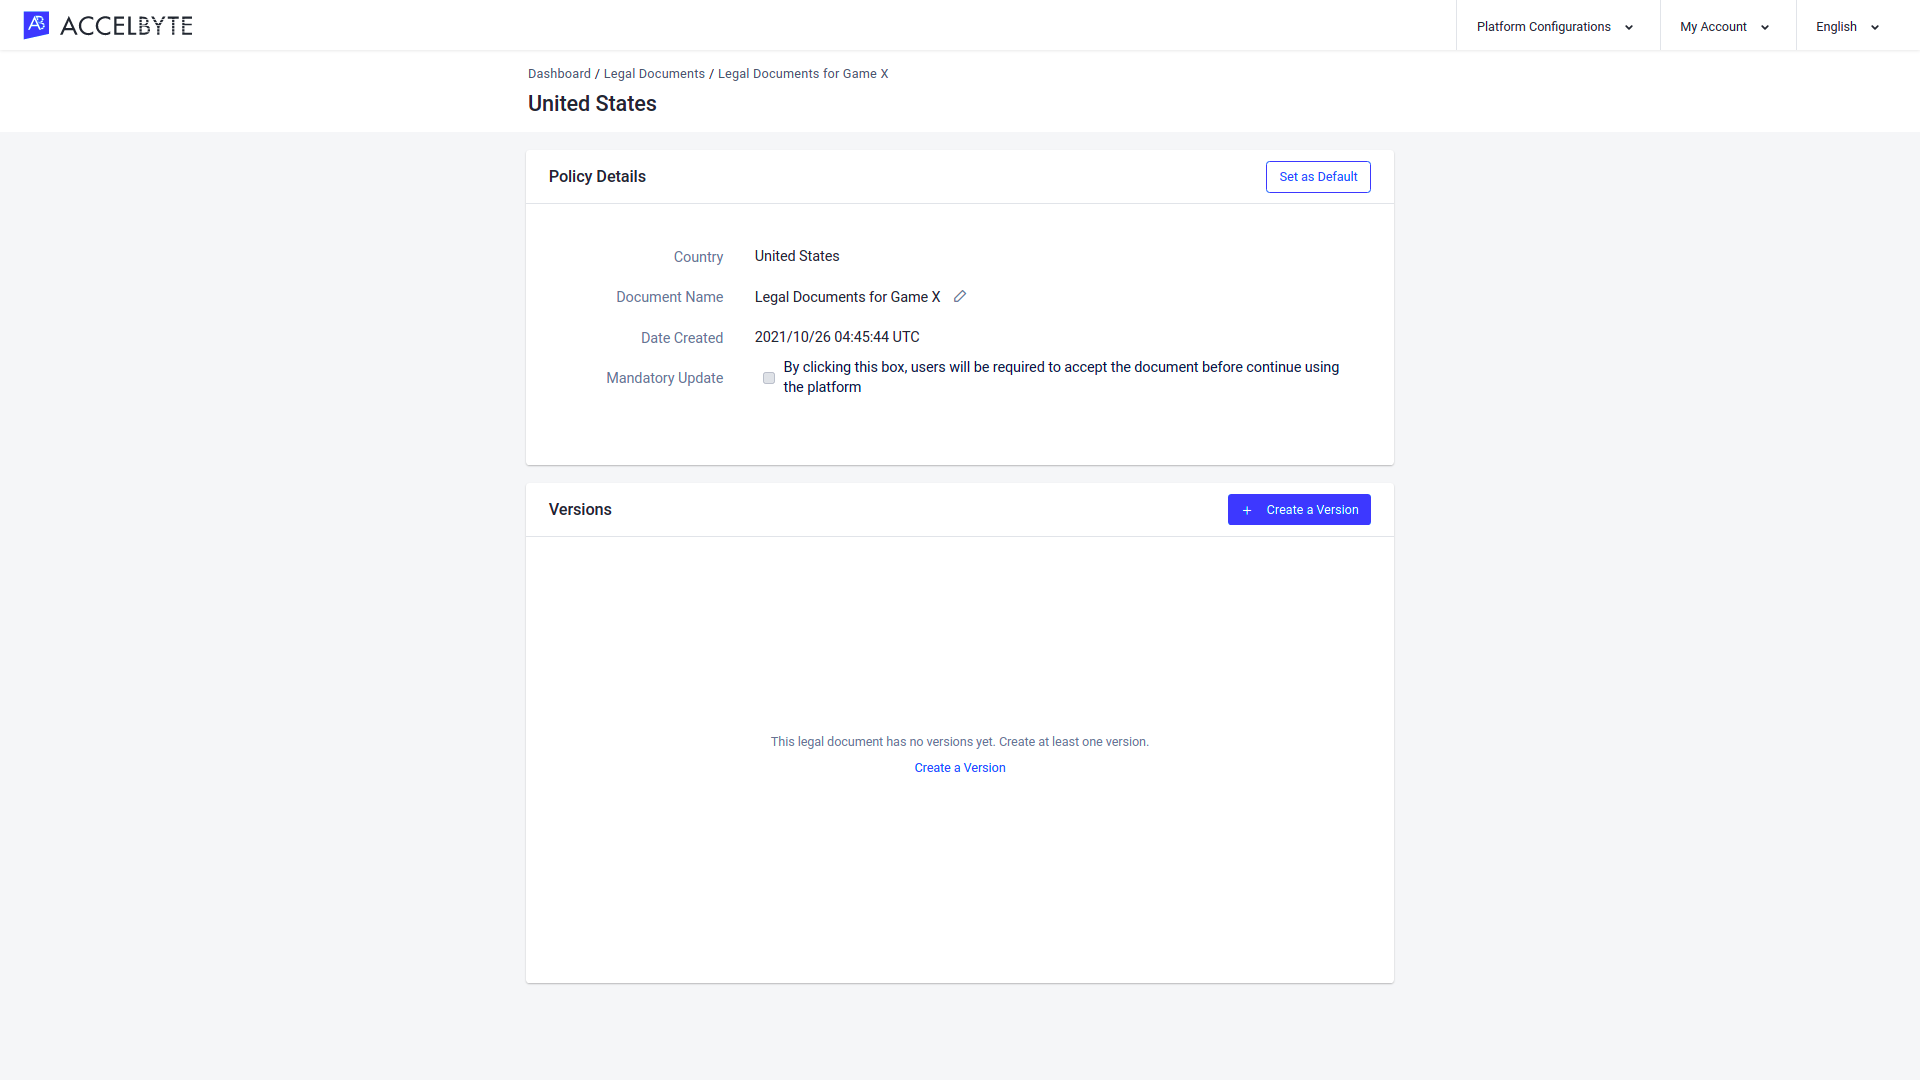
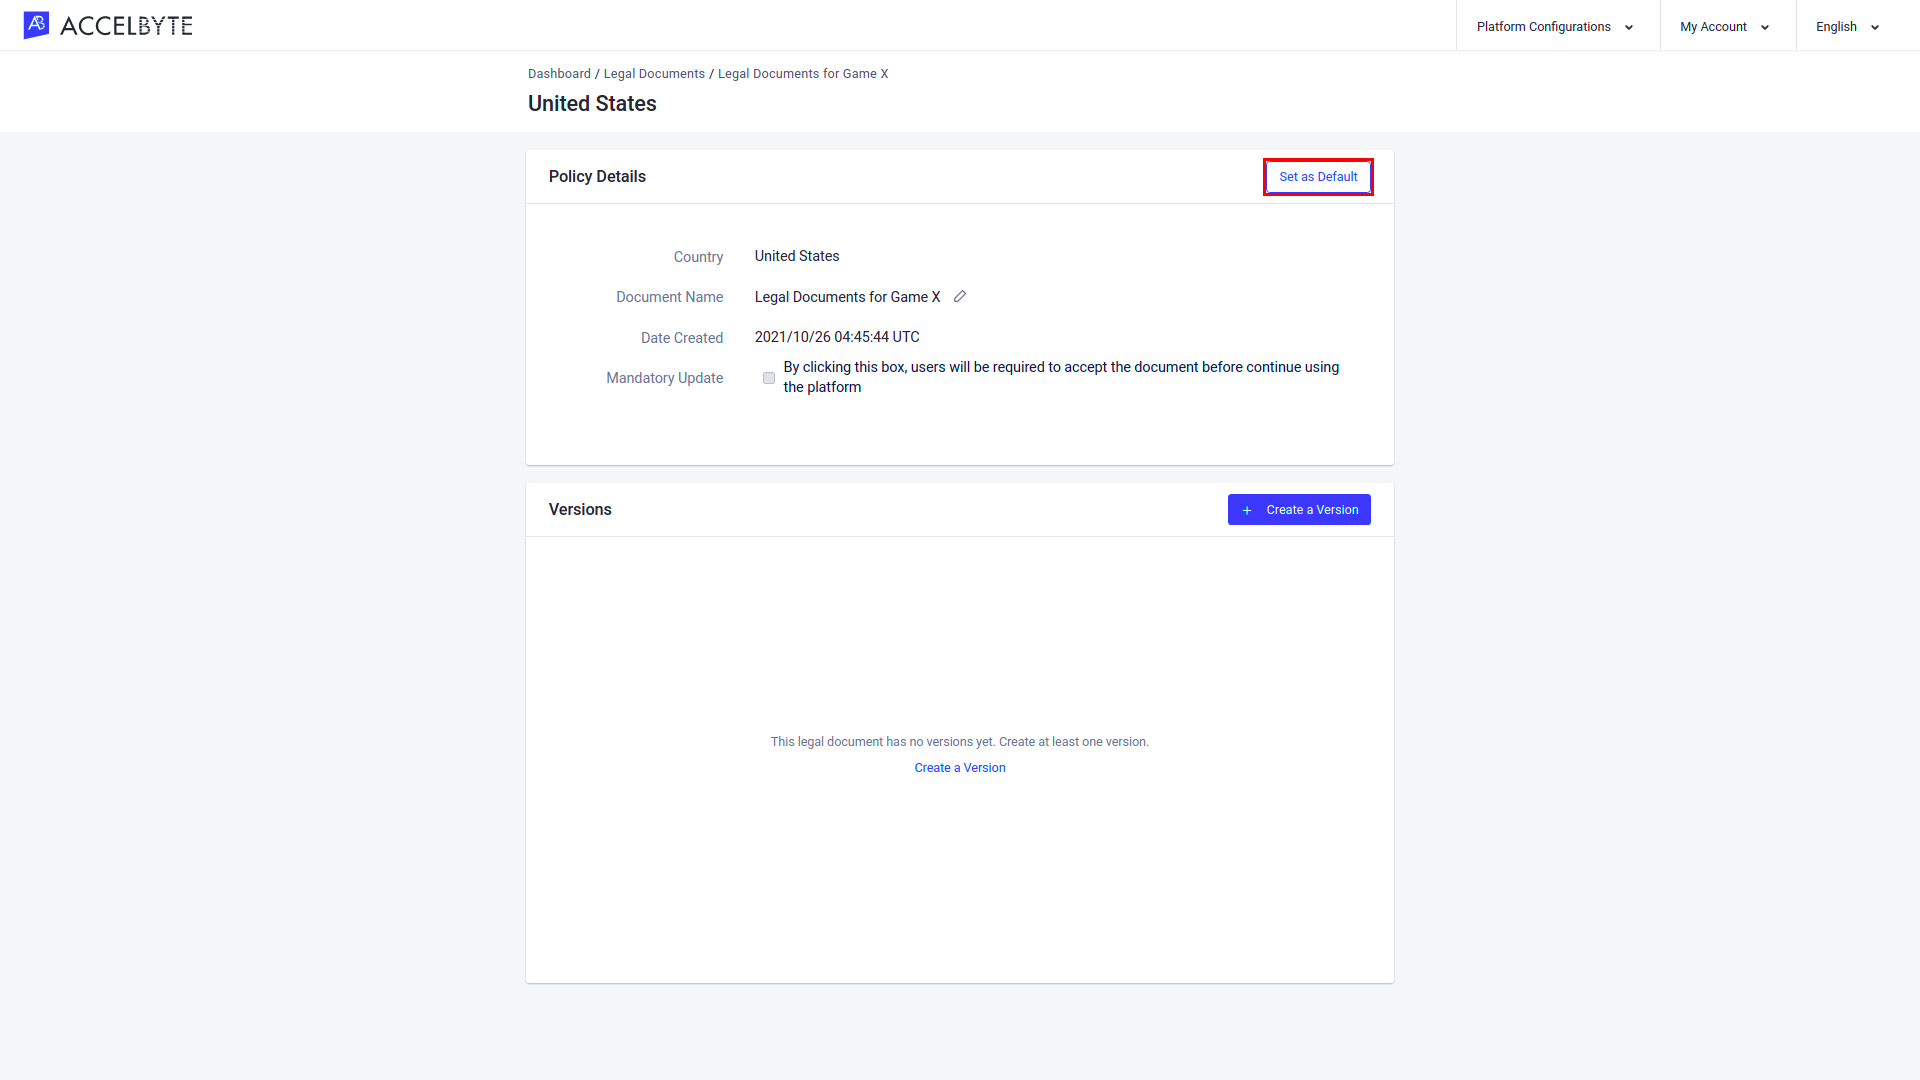
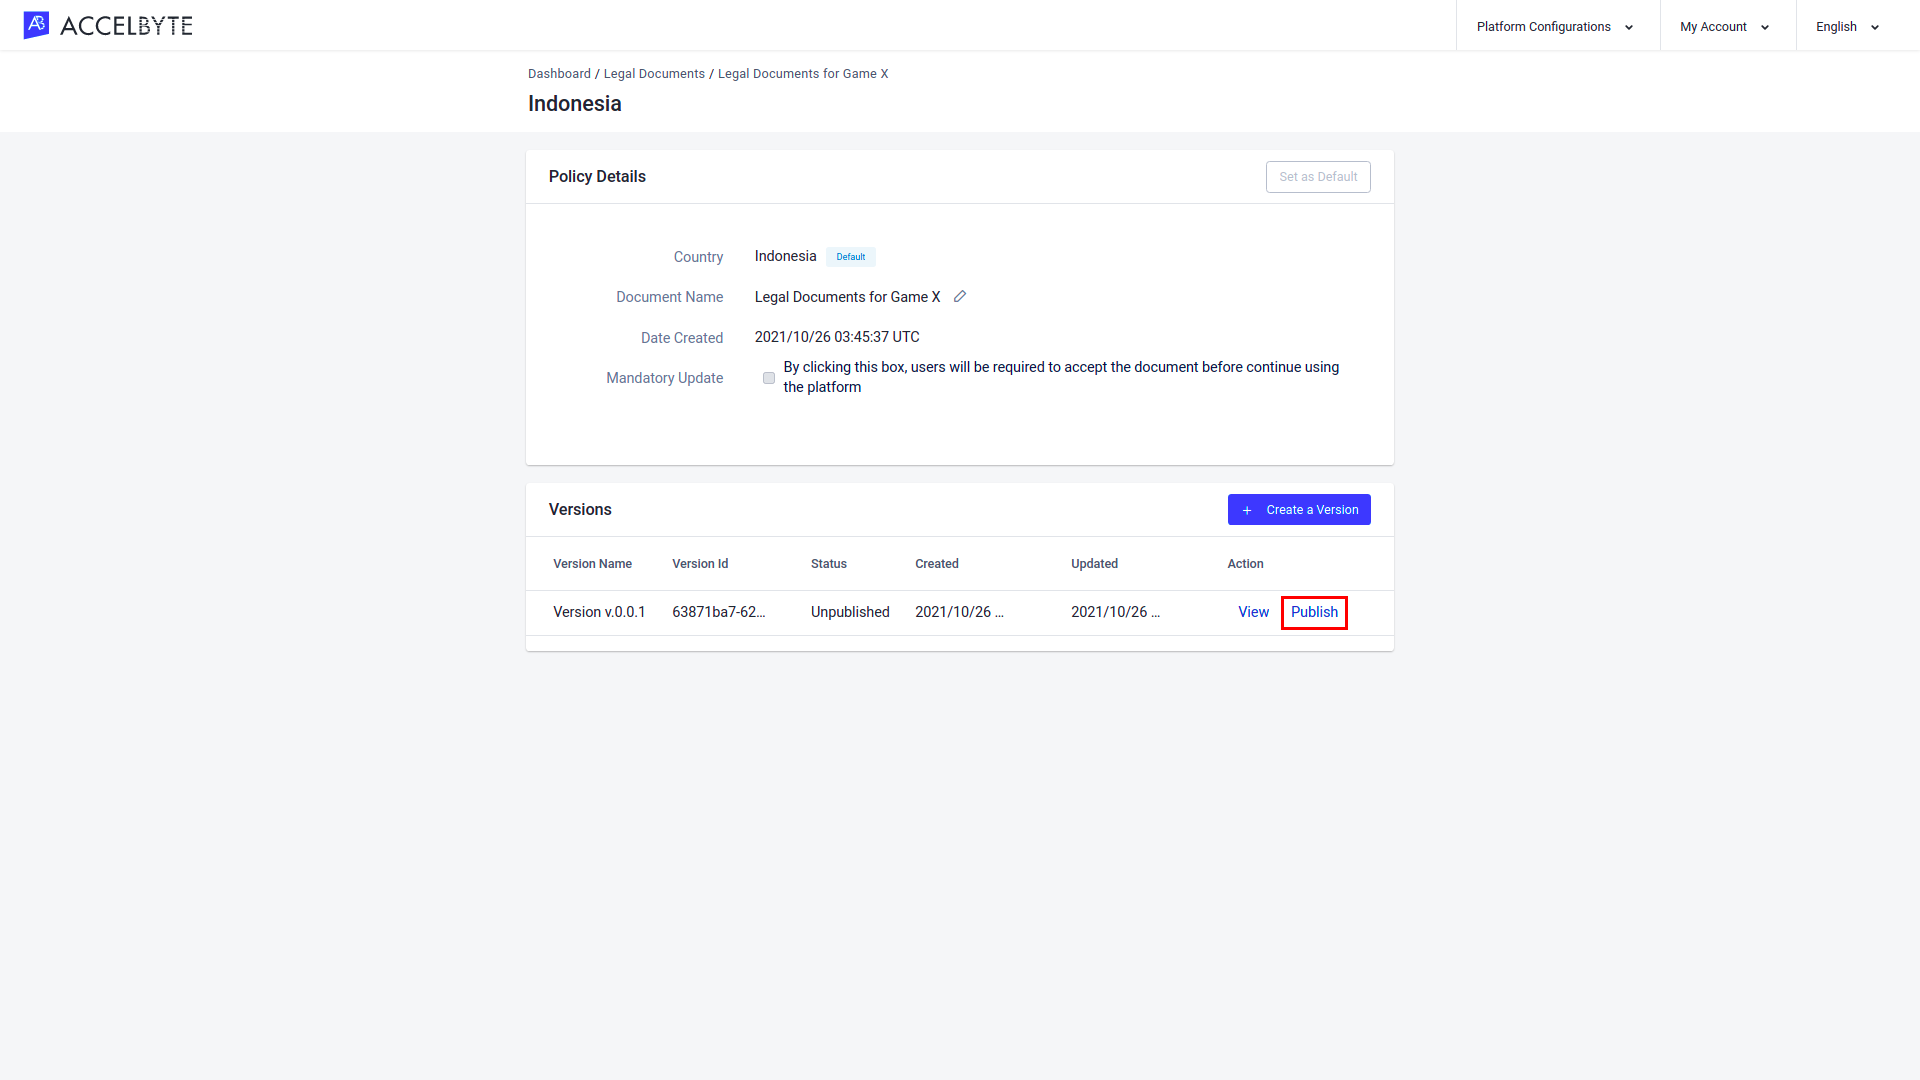
To set this country as the default country for country-specific policies, click the Set as Default button.
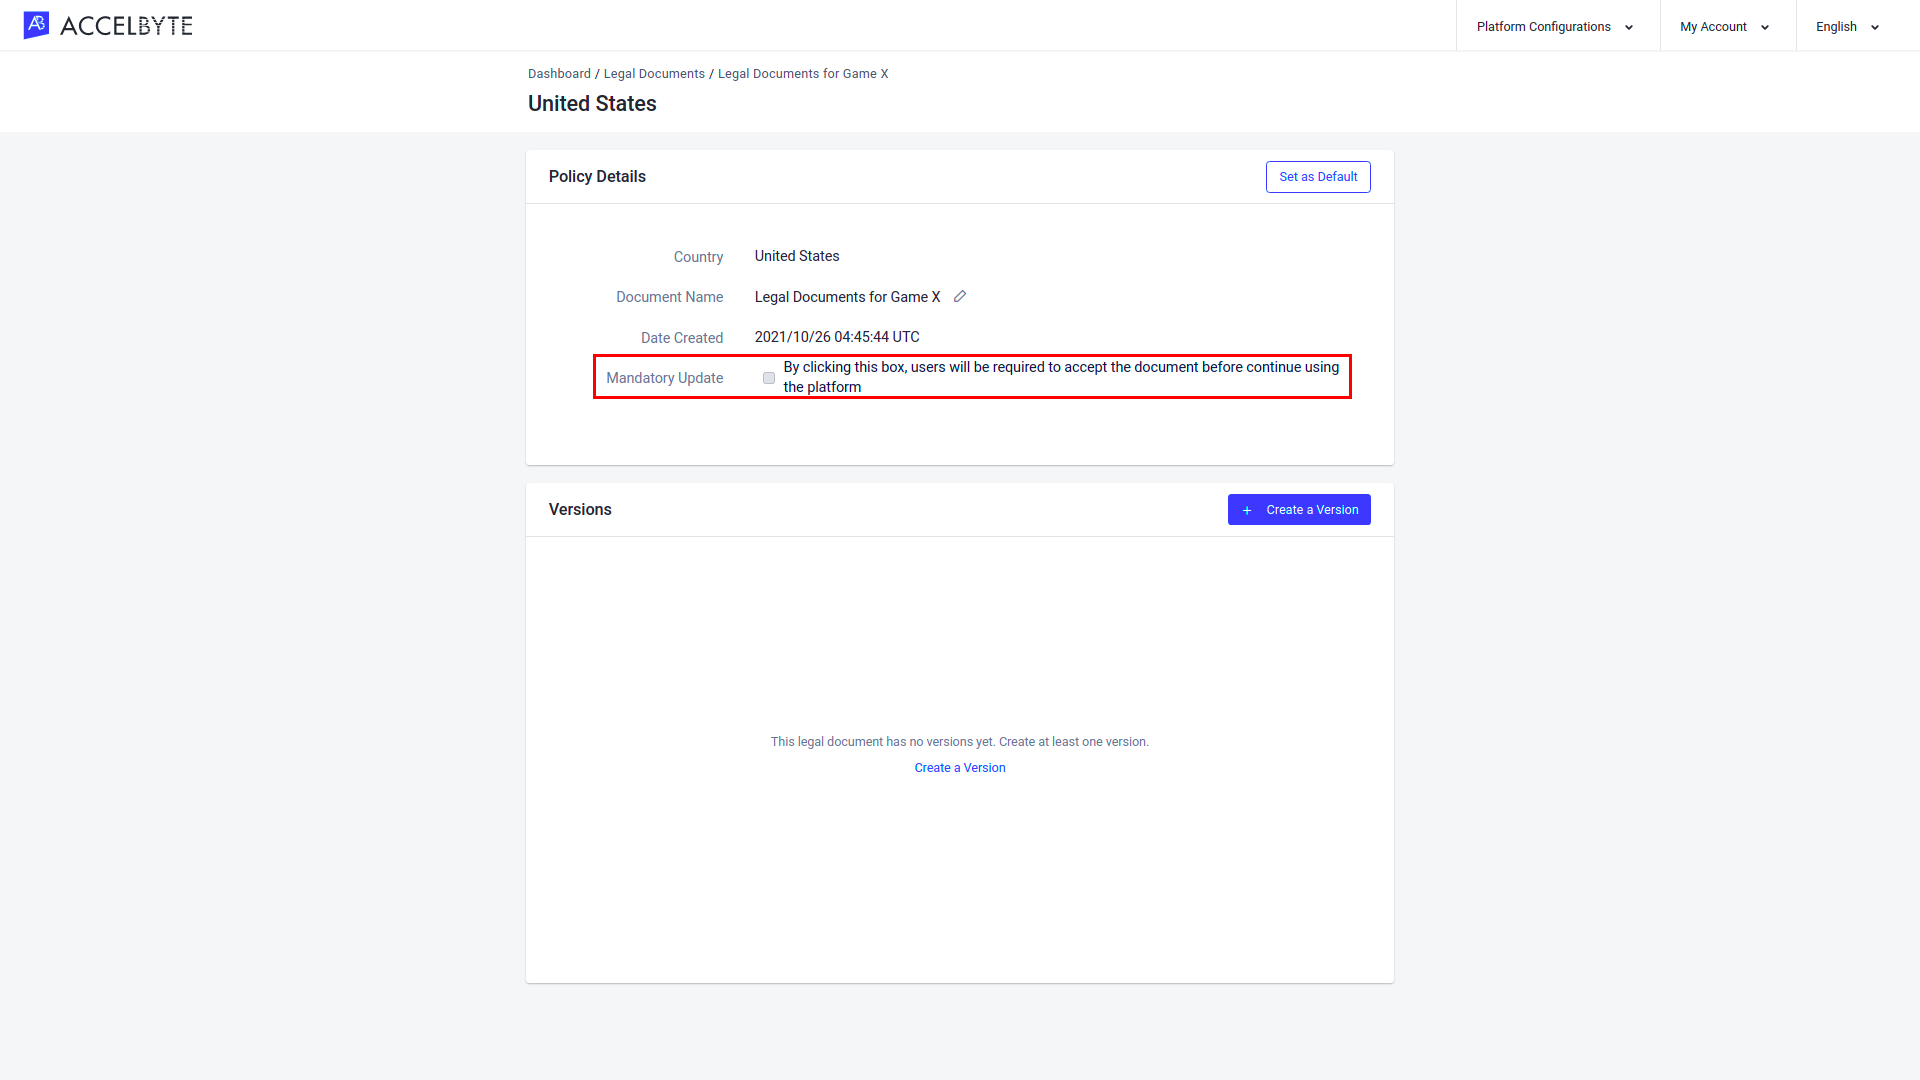
If you want to require players to accept this policy before continuing to use the platform, select the Mandatory Update checkbox.
You can also create a platform client-specific policy to hold versions of a document for a specific platform (e.g., Xbox, PlayStation, etc.). To add a new platform client-specific policy to a legal document, follow the steps below:
NOTE
Make sure you have already defined the IAM Client (opens new window) for your target platform before proceeding.


If you want to create different legal documents for different platform clients, then you will need to create separate legal documents for each client.
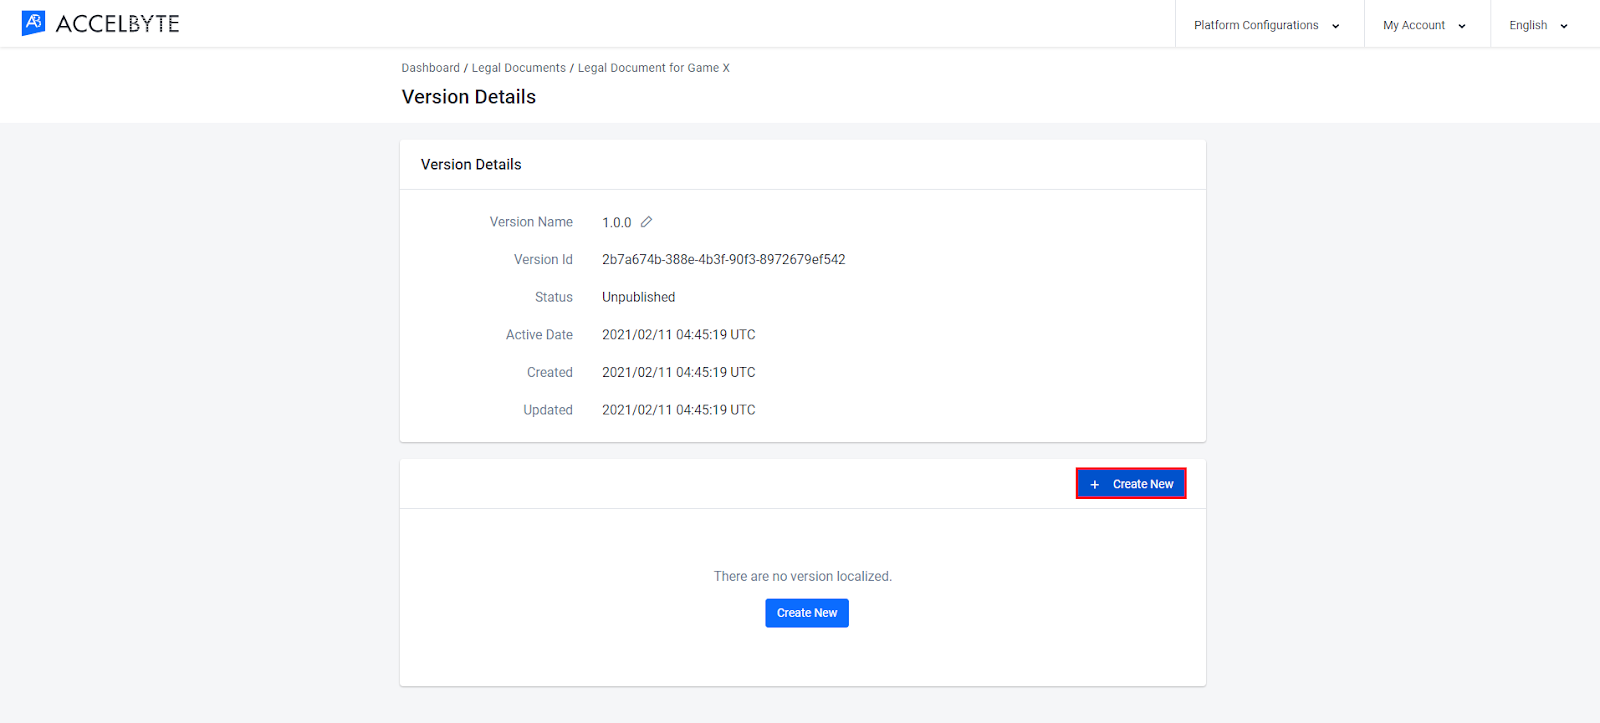
After creating a country-specific policy, you can add a new version of that document any time it has been revised. To create a new version of a document, follow the steps below:

On the Legal Documents page you can see a list of all existing Legal Documents.
On the Legal Document Details page, you can see detailed information about the selected Legal Document and the list of country-specific policies related to that document.

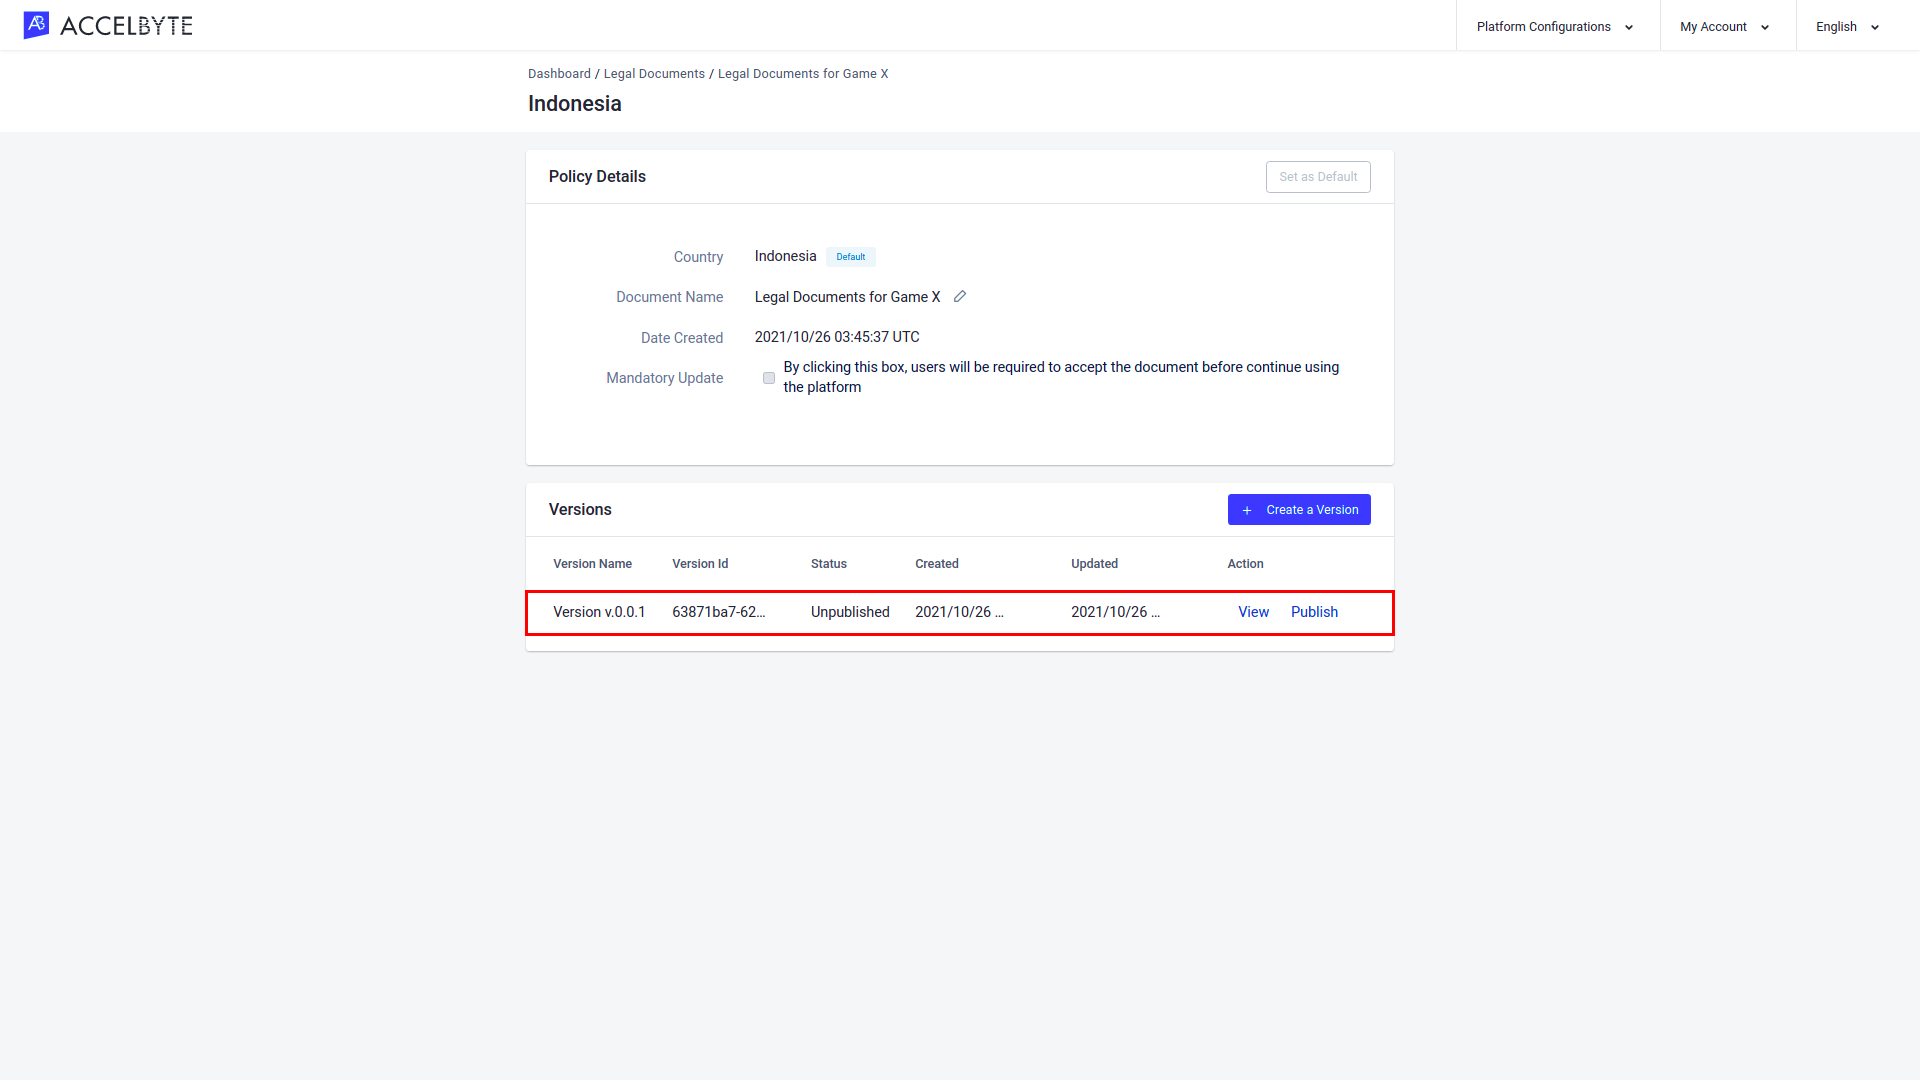
On the Country-Specific Policy page, you can see information about the policy and its existing versions.


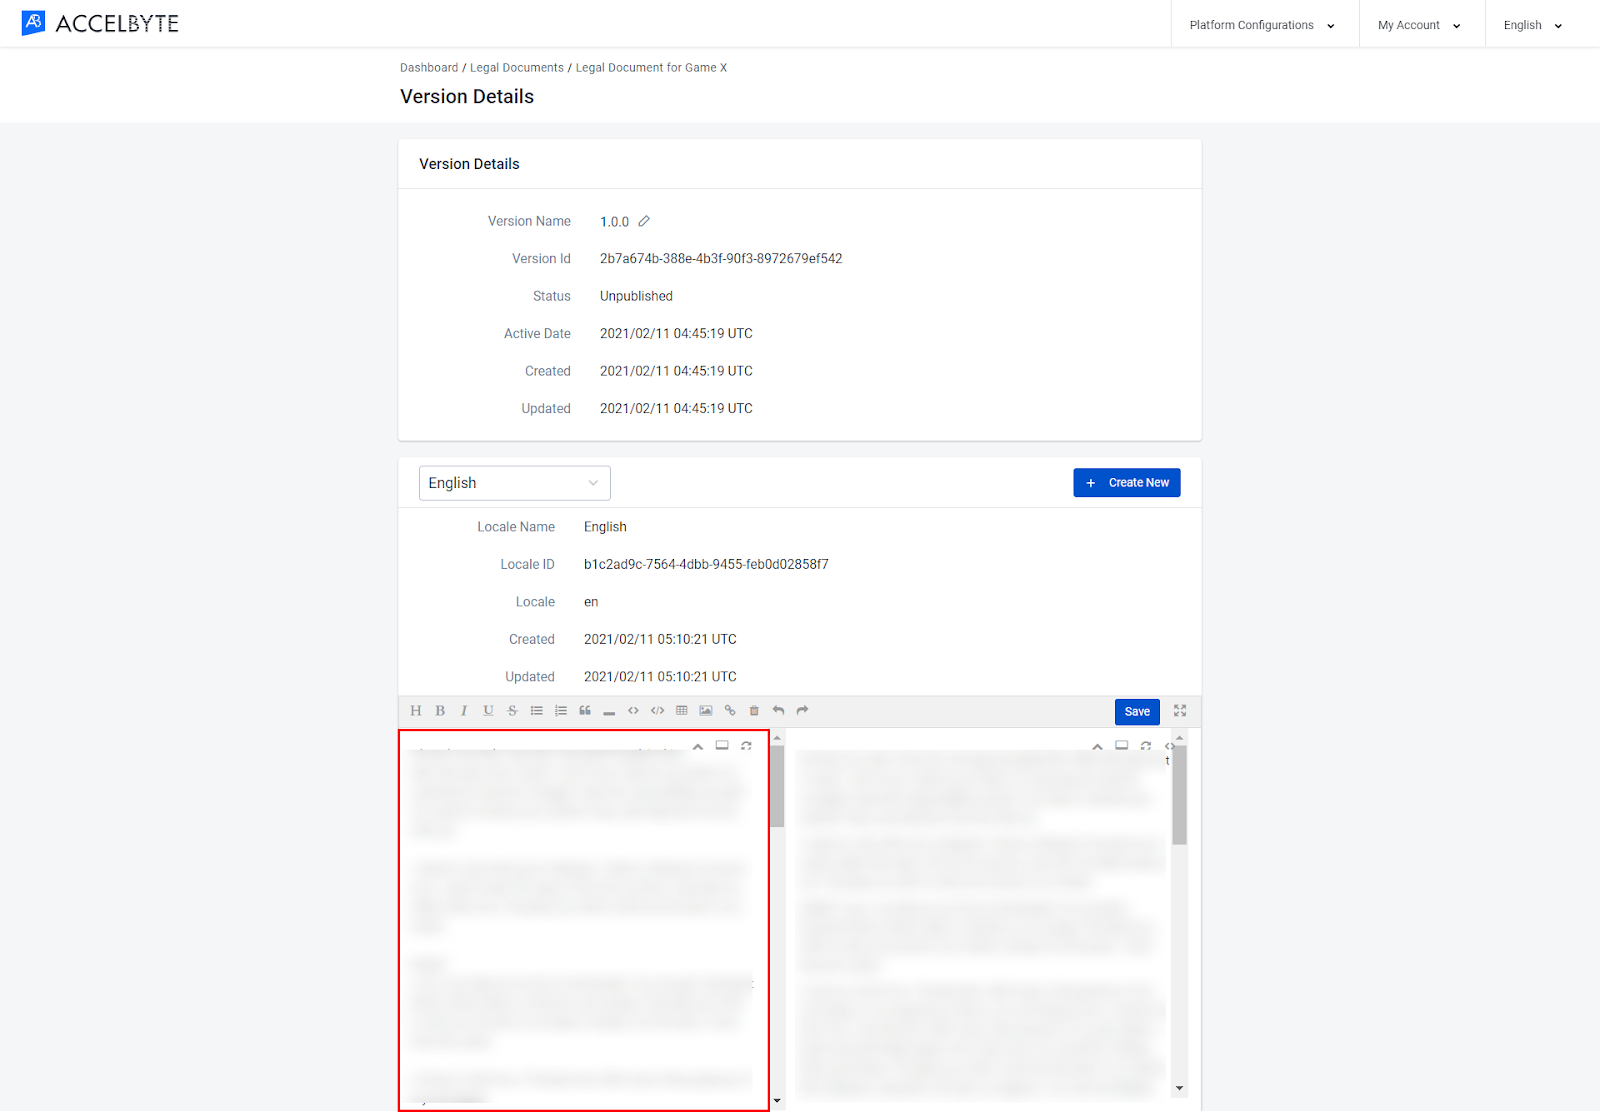
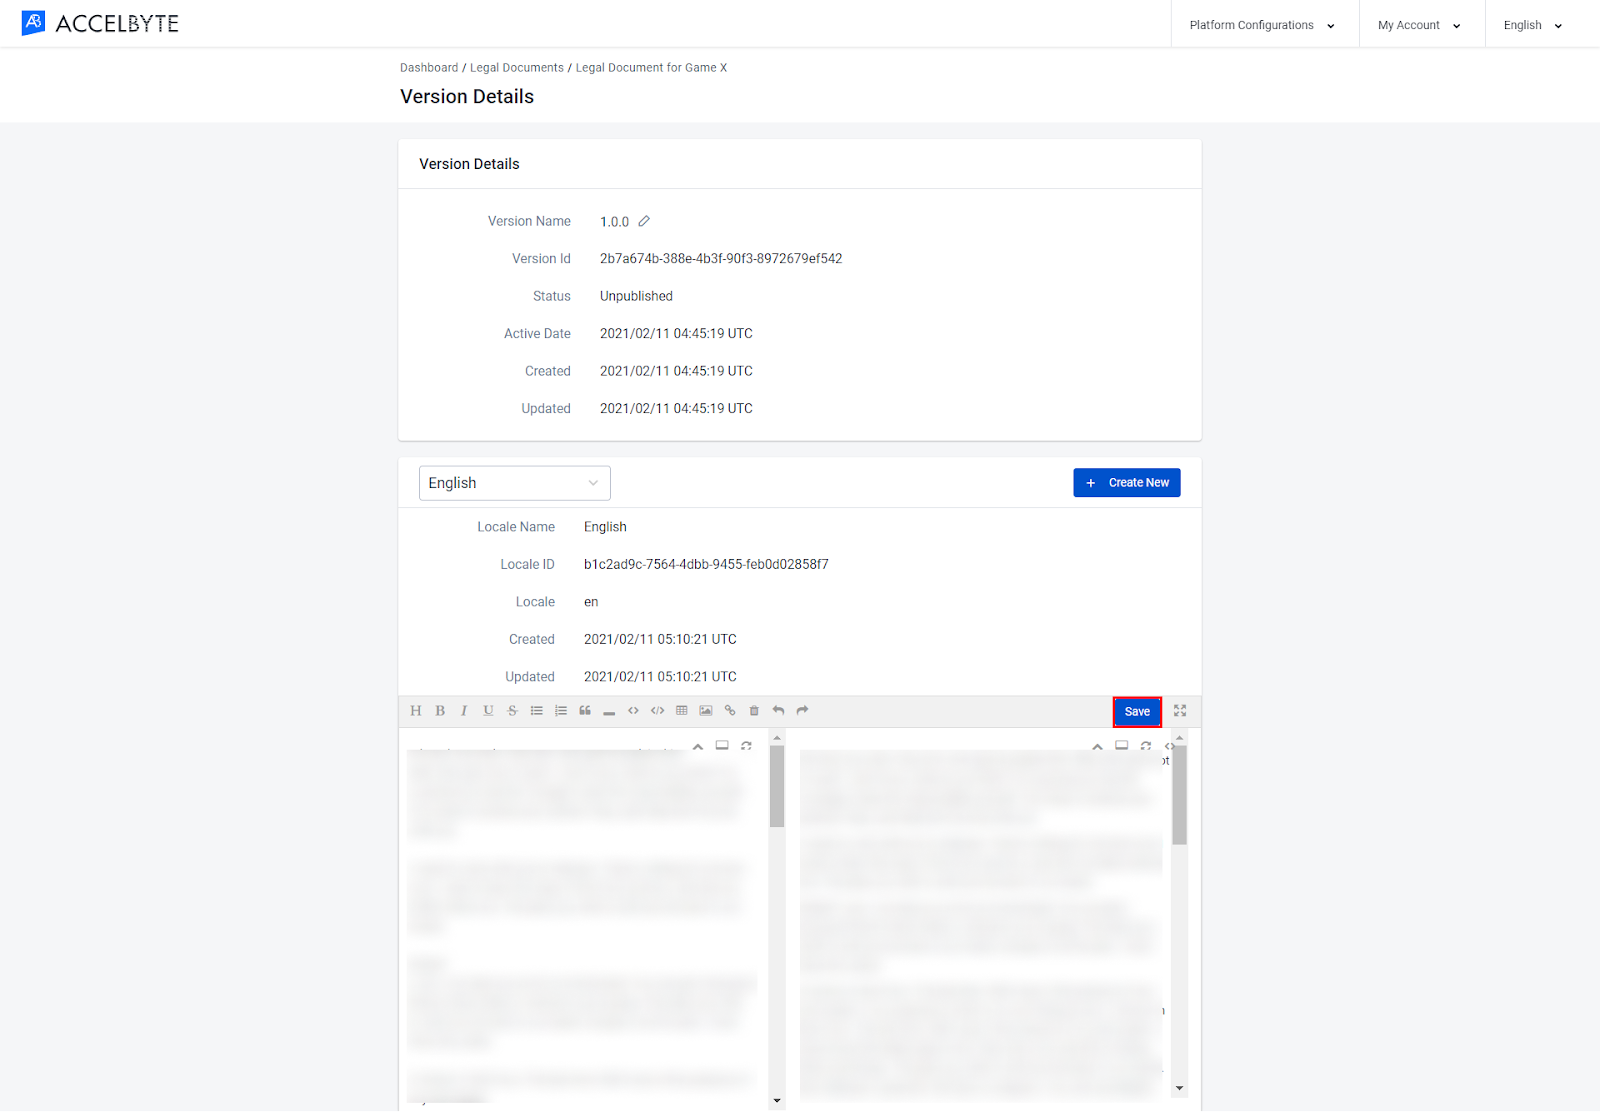
On the Version Details page, you can see detailed information about the selected document version.
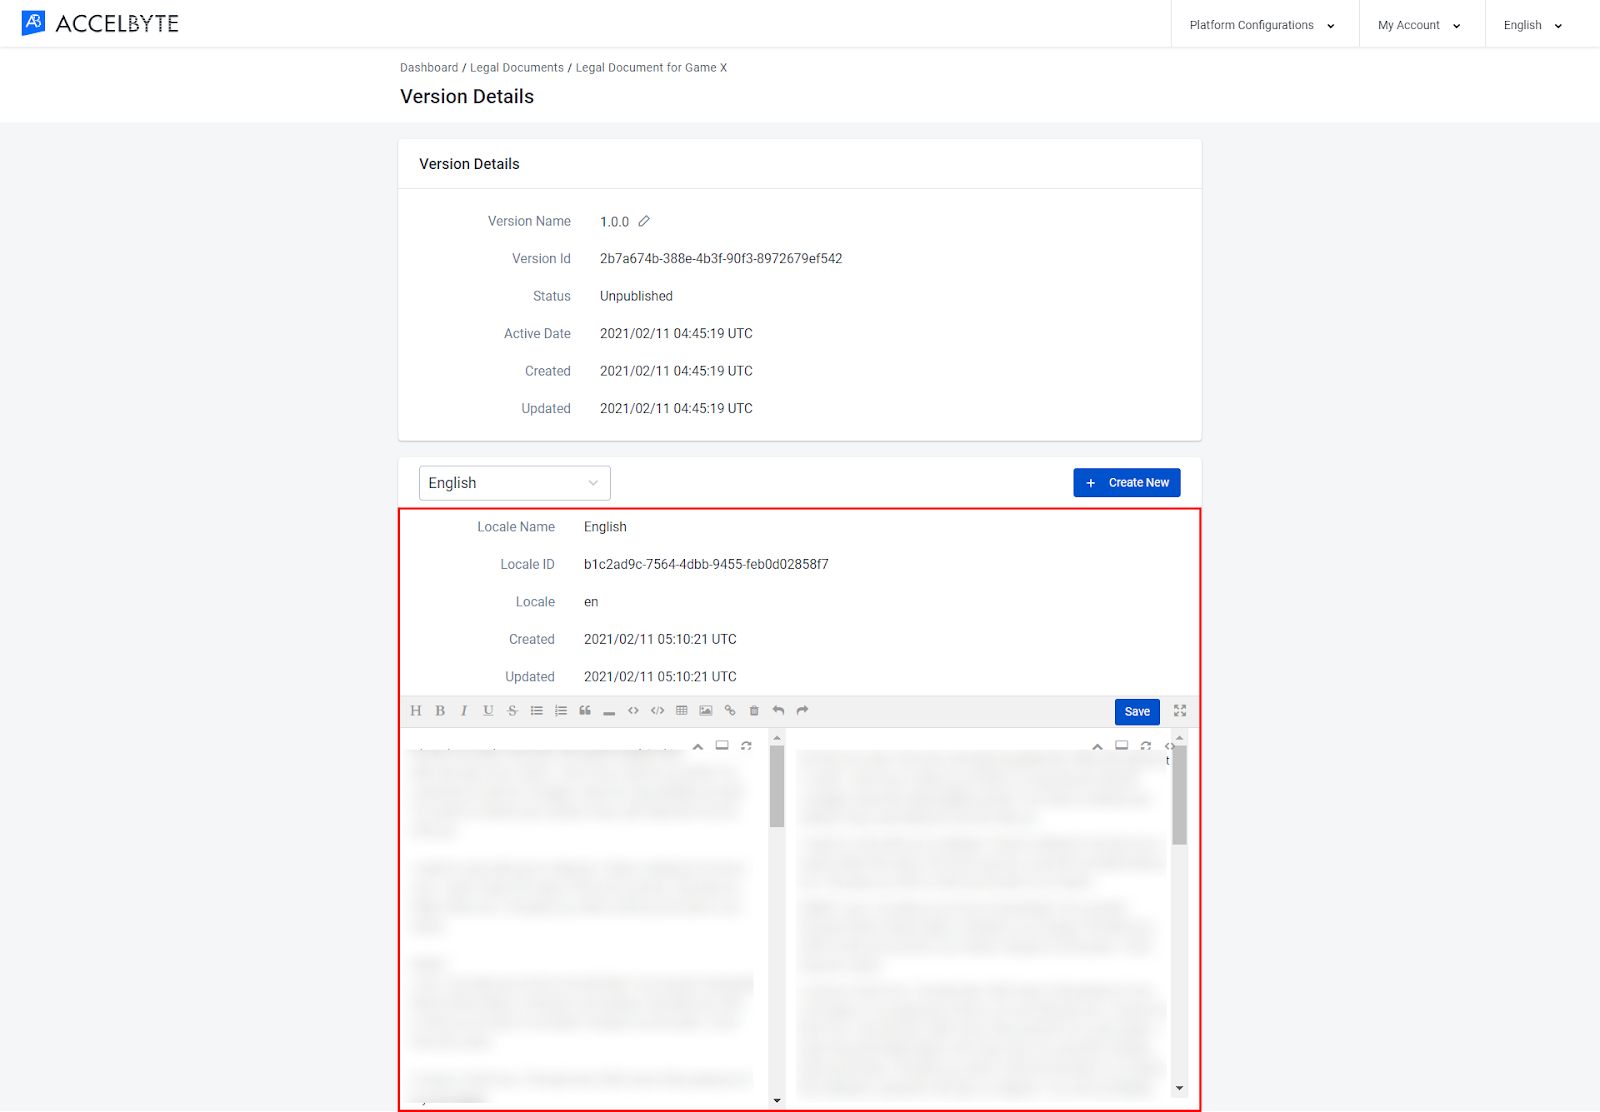
You can edit the content of a legal document. To do so, follow the steps below:

On the Legal Documents page you can see a list of all existing Legal Documents.

On the Legal Document Details page, you can see detailed information about the selected Legal Document and the list of country-specific versions of that document.
On the Country-specific Policy page, you can see detailed information about the policy and existing versions of it.

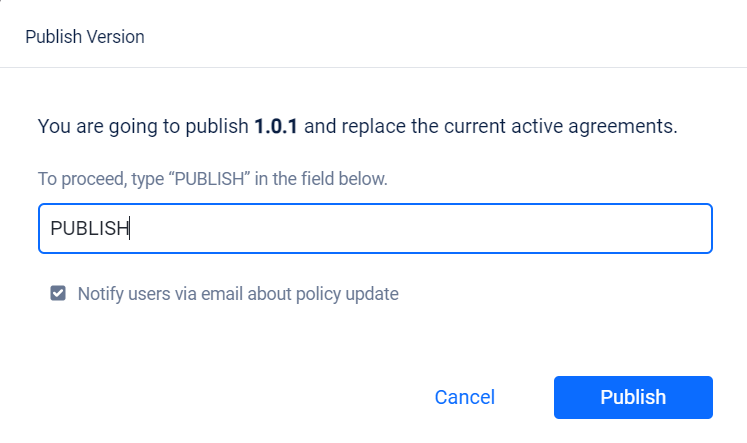
After you create a legal document, you can publish the legal document for all players in the affected namespace. To do so, follow the steps below:
On the Legal Document Details page, you can see detailed information about the selected Legal Document and the list of country-specific versions of it.

On the Legal Document Details page, you can see detailed information about the selected Legal Document and the list of country-specific versions of that document.

On the Country-specific Policy page, you can see detailed information about the policy and existing versions of it.
A confirmation window appears.
The Legal Agreement API can be called by using the functions in AccelByte::FRegistry::Agreement.
Check all players’ legal eligibility from a specified namespace. Use this function to check whether the player who is logged has already agreed to the legal agreement. You can check the IsAccepted variable from the retrieving model to see if the current legal document is already accepted by the player or not. If not, you can continue through the logic of your game whether showing that legal document to the player or not.
Retrieve all latest active policies, based on the namespace from the game configuration and country code, from the user’s profile.
Retrieve all the latest active policies from a specified namespace and country code from the user’s profile.
Retrieve all latest active policies that have specified tags, based on the namespace from game configuration and country code, from the user’s profile.
Retrieve all latest active policies based on a specified country and namespace, from the game configuration.
Retrieve all latest active policies that have specified tags, based on a specified country and the namespace, from game configuration.
Use this function to retrieve the content of the specified document. You can get the required url by retrieving policies using the method in the previous section (opens new window).
Use this function to accept a localized policy document by providing the localized policy version ID. You can get a localized policy version id by following the previous tutorial while retrieving policies.
Use this function to accept many localized policy documents at once.
Before using the Legal service from the SDK, you will need to initialize your server-side SDK to ensure you are authorized and able to perform create, read, update, and delete actions.
Before using the Legal service from the Golang SDK, you will need to initialize the SDK by following the steps below:
Create your IAM Client (opens new window) and assign the necessary permissions to access the IAM service.
Initialize the OAuth 2.0 service using the following function (opens new window):
Once completed, you can use the Golang SDK to create, read, update, or delete the Legal (opens new window) service from your serverless app.
Before using the Legal service from the Python SDK, you need to initialize the SDK by making sure that you’ve done the following requirements.
On a successful initialization, you can use the Python SDK to create, read, update and delete Legal (opens new window) from your serverless app.
To use the Legal Service, make sure you have the necessary permissions.
Before using the Legal service, you will need to set some permissions. Use the following .NET namespaces:
    using AccelByte.Sdk.Api.Legal.Model;
    using AccelByte.Sdk.Api.Legal.Operation;
    using AccelByte.Sdk.Api.Legal.Wrapper;
Before using the Legal service, you will need to set some permissions. Initialize the Agreement wrapper from the Legal service using the following code:
Agreement wLegalAgreement = new Agreement(sdk);
Once completed, you can use the SDK to create, read, update, or delete agreements.
Use the following function to bulk accept policy versions (opens new window):
Use the following function to retrieve agreements (opens new window):
Use the following function to update marketing preference consent (opens new window):
